
There are a few craft supplies I always keep around because they punch far above their price tag, and clear plastic spoons are high on that list. With a little patience, some hot glue, and a simple backing shape, you can turn the most ordinary dollar-store materials into something that catches light in a surprisingly elegant way. The beauty of this project is that the basic process is repetitive and easy, but the payoff looks far more dramatic than the effort suggests.
This is a good project for anyone who likes holiday décor, wintery wall art, or light-up pieces that feel polished without requiring advanced tools. If you can squeeze a glue gun, trace a shape, and glue rows in place, you can make this one successfully—and because the materials are lightweight and forgiving, it is also a nice weekend project when you want something showy without hauling out a whole workshop.
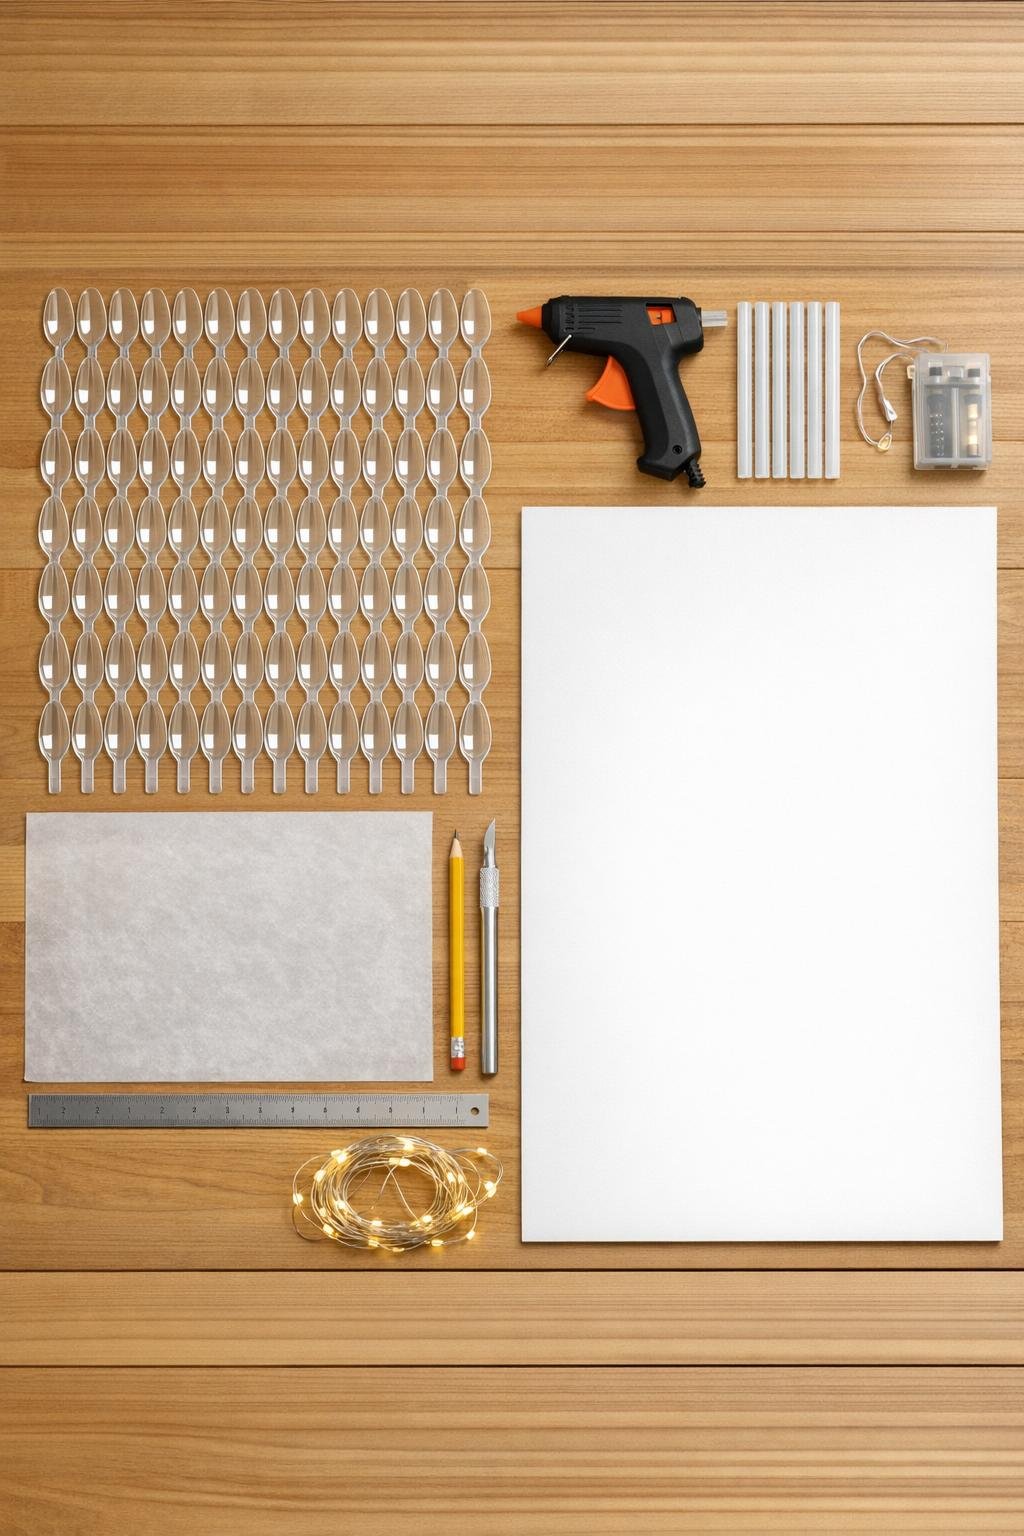
Materials
Instructions
1. Cover your work surface with wax paper, then line up all 72 clear spoons in tight rows with the bowls facing up so they are ready to fill. Plug in the glue gun and let it heat fully before you begin.
2. Squeeze hot glue into the bowl of each spoon, filling it almost to the rim without overflowing, and let the glue settle into a domed, glassy layer. Work steadily in batches so the glue stays clear and smooth rather than stringy.
3. Let the glue cool completely until every spoon feels hard and no longer tacky, about 10 to 15 minutes. If you see thin glue strings, peel them away now so the finished piece looks crisp.
4. Use the craft knife to cut the handles off all 72 spoons, trimming as close to the bowl as possible to create rounded “crystal petal” pieces. Keep the cuts consistent so the rows nest neatly later.
5. On the foam board, draw a tall triangle 24 inches high and 16 inches wide at the bottom, then cut it out cleanly with the craft knife. Trim a 3-inch-tall rectangle for the trunk if you want the tree silhouette to feel more finished.
6. Lay the spoon pieces on the foam board without glue first, starting at the bottom and overlapping them like shingles with the rounded ends facing outward. Use about 10 pieces on the bottom row, then gradually reduce each row until you end with a single spoon at the top.
7. Glue the bottom row in place first, applying a small bead of hot glue to the back of each spoon piece and pressing it onto the foam board. Continue row by row upward, overlapping each new row enough to hide the cut edges beneath it.
8. Keep filling gaps as you go so the tree looks full and dense rather than spotty; the center should be just as covered as the edges. If needed, tuck a few pieces slightly sideways near the outline to sharpen the tree shape.
9. Flip the tree over carefully and tape the fairy light strand to the back, zigzagging it from top to bottom so the bulbs sit behind the central area of the spoon rows. Leave the battery pack accessible at the lower back edge so you can switch it on easily after hanging.
10. Tape or glue a loop of ribbon or twine to the top back for hanging, then turn the piece over and check the front for any loose edges or visible glue strings. Switch on the fairy lights and hang the tree on a wall where the warm glow can shine through the clear spoon “crystals.”
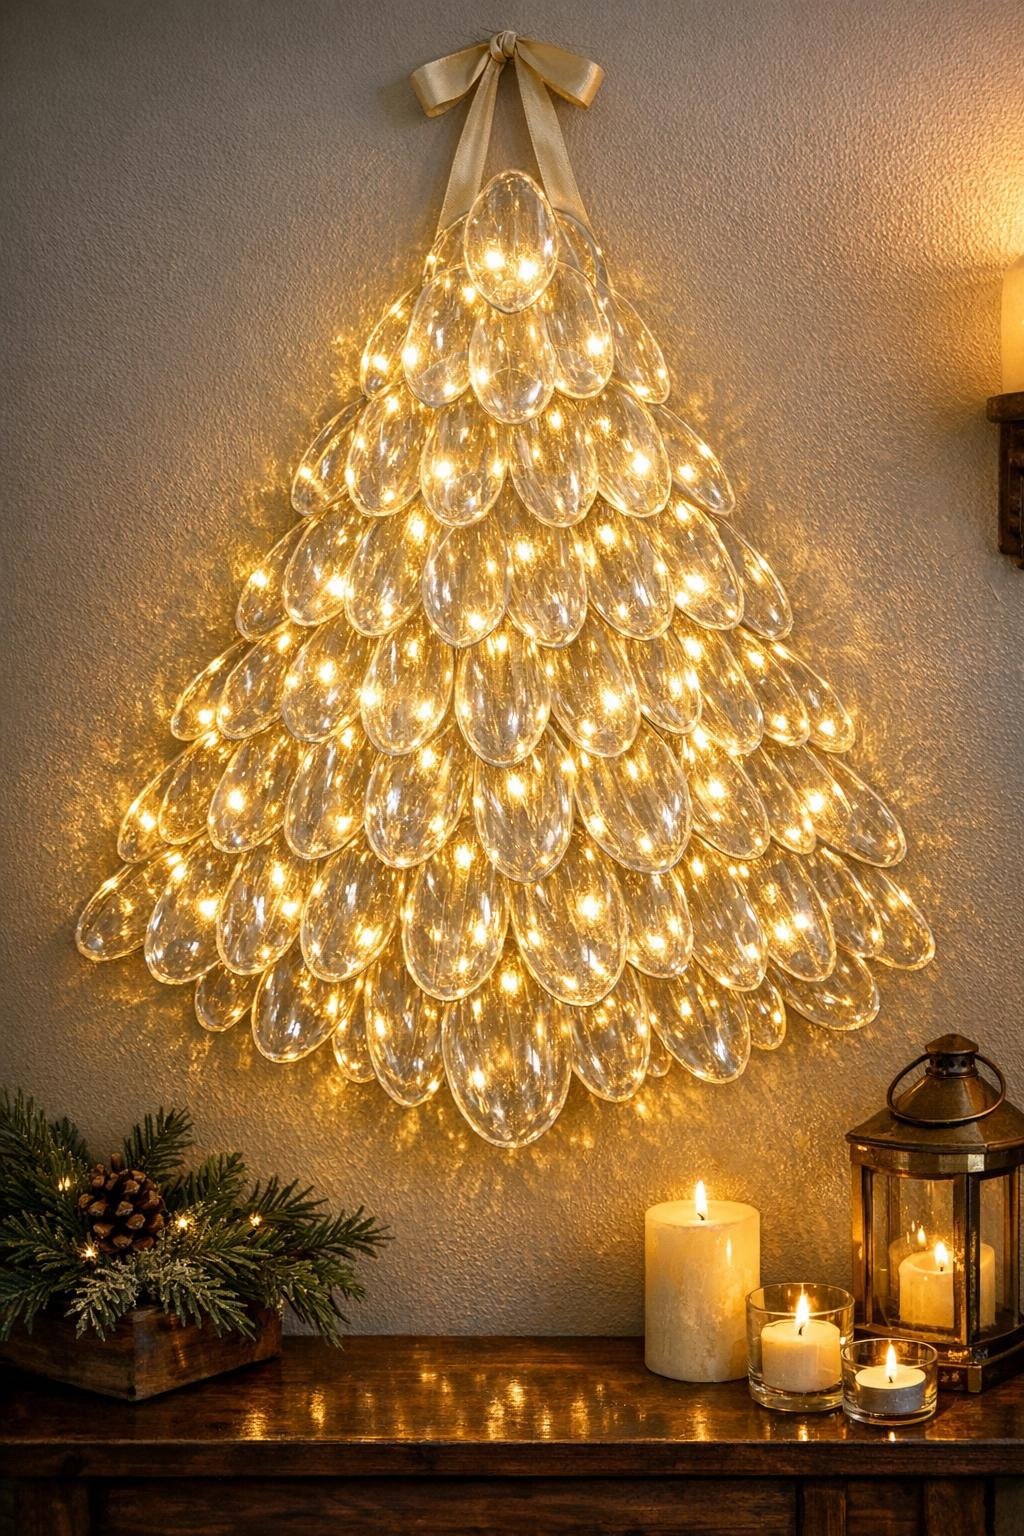
Variations & Tips
Cool-toned sparkle: If you prefer an icy look, use cool white fairy lights instead of warm white. The clear glue inside the spoons will read more like frosted crystal.
Extra fullness: If your spoons are smaller than standard size, buy 84 to 96 instead of 72 so you can keep the rows dense all the way to the edges. A generous overlap is what makes this look lush rather than flimsy.
Cleaner cutting: I like to score lightly around stubborn handle joints before snapping them off with the knife. It gives you a smoother edge and saves wrestling with cracked plastic.
Sharper silhouette: For a more defined tree outline, save 8 to 10 of the prettiest spoon pieces for the outer edge and top point. Putting your clearest pieces on the perimeter makes the whole shape read better from across the room.
Safer lighting: Battery fairy lights are my first choice here because they stay lightweight and easy to hide. Clear-wire strands also disappear better behind the spoon rows than dark green wire.
Easy storage: Wrap the tree in tissue or a clean pillowcase before storing so the spoon surfaces do not get scratched. Because the project is lightweight, it tucks nicely behind a dresser or in a closet without much fuss.