
There’s something extra satisfying about turning the simplest store-bought pieces into holiday décor that looks full, cheerful, and custom-made. This project starts with basic dollar store ornaments and a plain wire hanger, but with a little threading and shaping, you end up with a big, glossy decoration that has all the charm of those old-fashioned candy cane colors we all love at Christmastime.
I especially love this kind of project for busy families, because it’s inexpensive, easy to assemble on the kitchen counter, and dramatic enough to fill a front door beautifully. If you want a holiday craft that looks polished without needing fancy tools or a whole afternoon of concentration, this one is a winner.
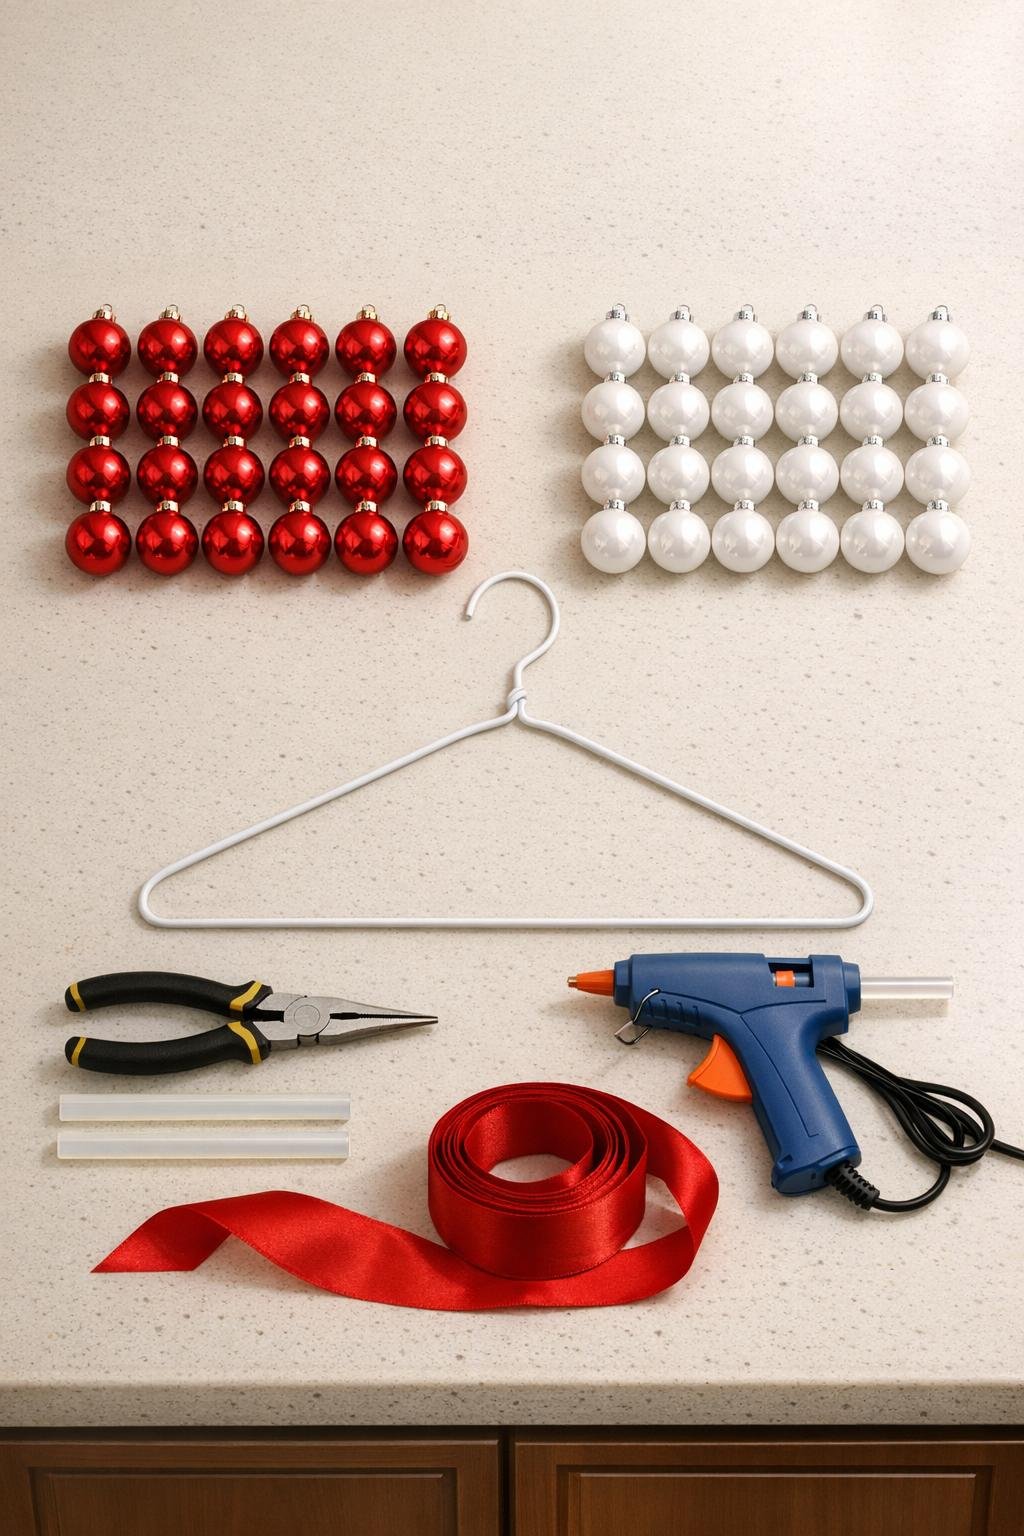
Materials
25 small red shatterproof ball ornaments, about 2 1/2 inches each
Instructions
1. Remove any cardboard tags or hanging strings from the ornaments, and make sure each ornament cap feels secure. If any cap is loose, add a tiny dot of hot glue under it and let it set before you start threading.
2. Use the pliers to untwist the wire hanger at the neck and straighten it into one long wire, keeping the hook end intact. Smooth out any sharp bends so the ornaments will slide on easily.
3. Thread the ornaments onto the straight wire, alternating red and white until all 50 are on. Push them snugly together as you go so the line looks full and striped.
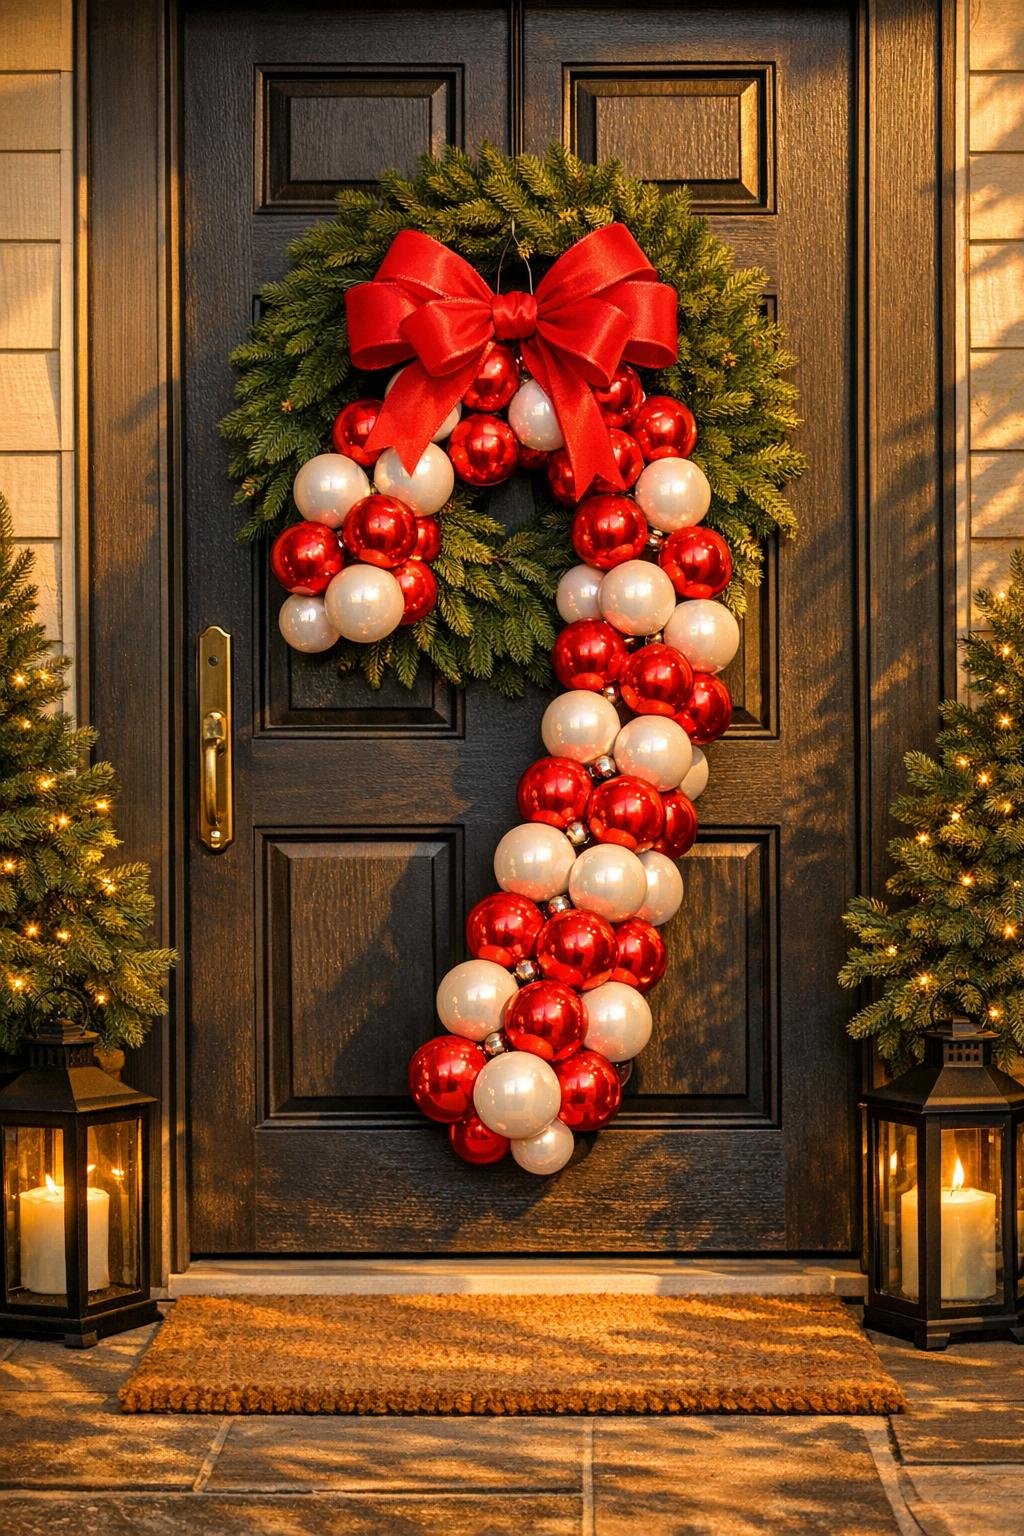
4. Curve the loaded wire gently into a candy cane shape, keeping the straight lower section long and the top curled into a rounded hook. Adjust the ornaments as you bend so the color pattern stays even and the shape looks balanced.
5. Bring the wire end back around the hook area and use the pliers to twist it tightly closed so the ornaments cannot slide off. Tuck the cut or twisted end inward so no sharp point is exposed.
6. Fluff and rotate the ornaments until the candy cane looks dense from the front, with no obvious gaps in the line. If any ornament wants to shift, place a tiny dot of hot glue where two ornaments touch to help them stay in position.
7. Cut a 24-inch length of ribbon and tie a full bow at the top curve where the hook meets the ornamented cane. Trim the tails into neat angles, then use a small dot of hot glue behind the knot so the bow stays facing forward.
8. Make a hanging loop from another 12 inches of ribbon, knot it securely at the top, and tuck it behind the bow. Give the whole piece one final shaping with your hands so the curve is smooth and the striped pattern reads clearly from a distance.
Variations & Tips
For extra sparkle: Choose glittery red ornaments for half of the red set, or mix shiny and matte finishes so the candy cane catches the light a little more.
For picky decorators: If bright red and white feels too bold for your space, try pink and white for a sweet candy look or silver and white for a softer winter version.
Bow shortcut: If tying bows isn’t your favorite job, use a premade tree bow and glue or wire it in place at the top for a quick polished finish.
Make it sturdier: Shatterproof ornaments are the best choice here because they keep the hanger light enough for a door and hold up better if bumped by kids, guests, or packages.
Keep the shape full: The prettiest result comes from packing the ornaments tightly before twisting the hanger closed. If your ornaments are slightly smaller than 2 1/2 inches, add 4 to 6 extra ornaments so the candy cane still looks generous.
Door-friendly hanging: A wreath hanger works well, but I often like a ribbon loop hooked over a removable door hook because it keeps the candy cane sitting straight and centered.
Storage tip: Wrap the finished piece loosely in tissue paper and store it flat in a large gift box or plastic tote so the ornaments stay glossy and dust-free until next year.