
There are a few holiday projects I come back to when I want something calming, inexpensive, and actually pretty enough to display all season, and this one checks every box. It starts with the simplest supplies possible, but that quick coffee stain gives the wood such a warm, aged look that the finished piece feels far more special than the effort involved.
I especially love projects like this during busy December weeks, because I can do the staining on one evening after work, let everything dry while I make dinner, and put the whole thing together later without turning my kitchen table into a full craft disaster. If you want a handmade Christmas decoration that looks cozy and polished without needing fancy tools, this is a very good one to make.
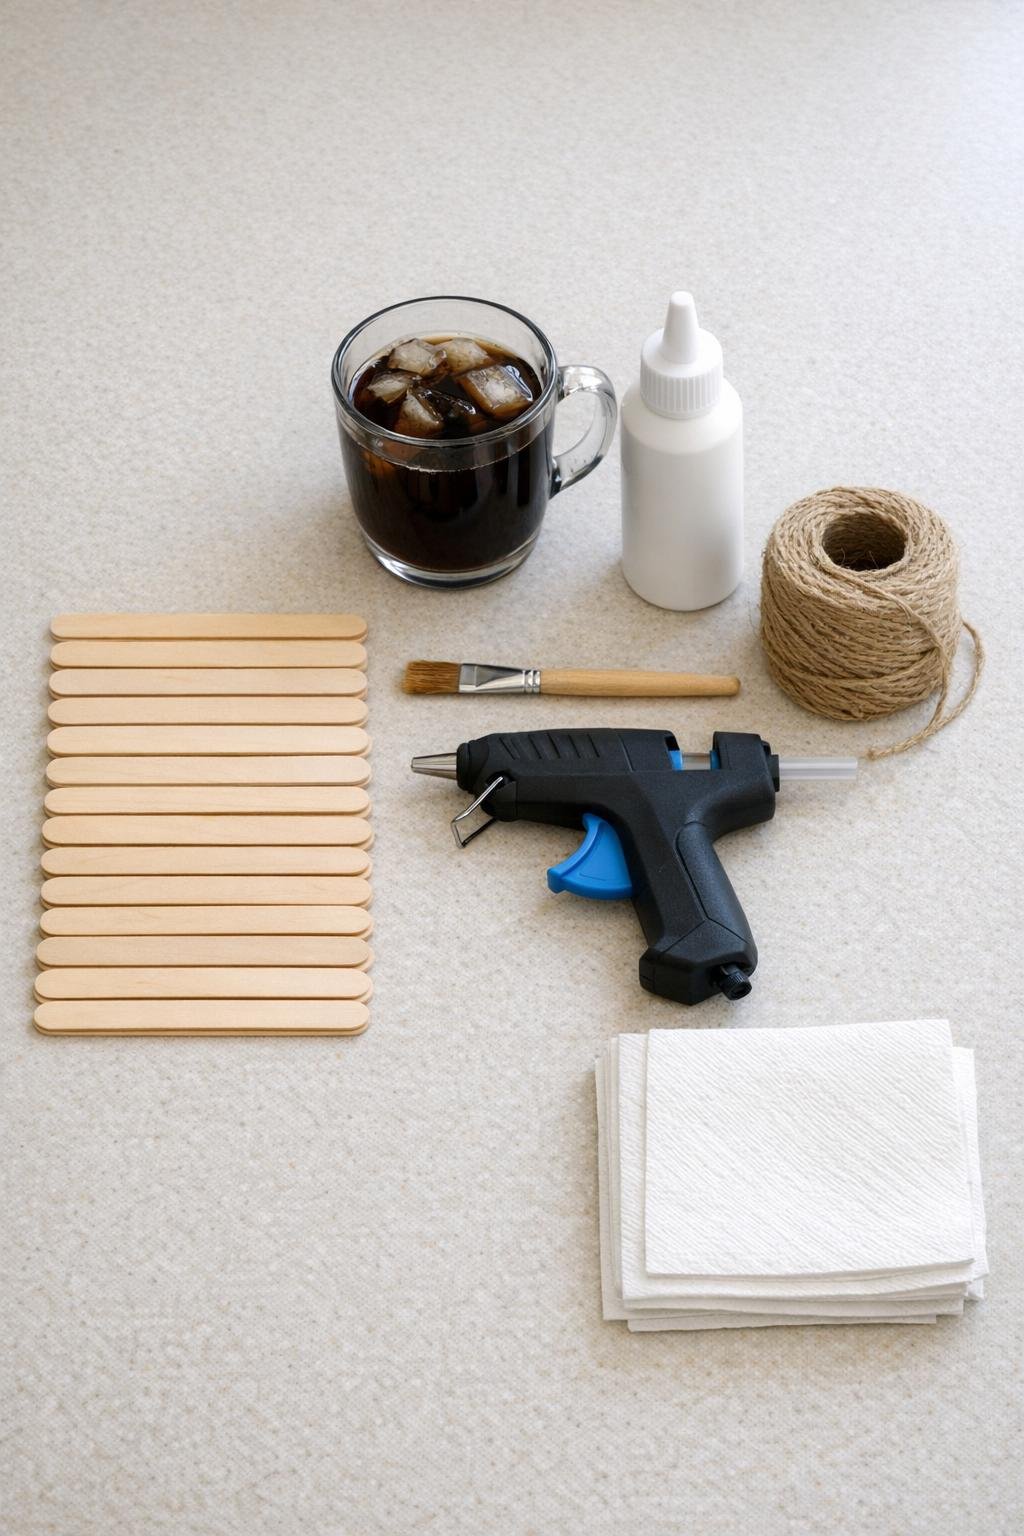
Materials
30 wooden popsicle sticks
Instructions
1. Line your work surface with paper towels and set out the popsicle sticks in straight rows so they are easy to stain quickly.
2. Brush cold strong coffee over one side of all 30 popsicle sticks, then flip and coat the other side; wipe away any puddles so the color stays even and wood grain still shows through.
3. Let the sticks dry for 20 to 30 minutes, then brush on a second light coat of coffee if you want a deeper rustic brown.
4. Separate the stained sticks into six groups of five so you can make six matching snowflakes.
5. For the first snowflake, glue two sticks into an X shape, then glue a third stick straight up and down through the center to create six evenly spaced arms.
6. Break or trim one stained stick into six short pieces about 1 1/2 inches long, and glue one piece near the end of each arm at a slight angle to create the first layer of snowflake branches.
7. Break or trim a second stained stick into six more 1 1/2-inch pieces, and glue those just below the first set on the opposite angle so each arm gets a classic snowflake shape.
8. Repeat the same assembly process with the remaining groups of sticks until you have six full snowflakes.
9. Dry-brush a small amount of white acrylic paint over the fronts and edges of each snowflake, keeping it light so the coffee-stained wood still shows through underneath.
10. Cut six lengths of jute twine at 10 inches each, loop one through the top arm of every snowflake, and knot it securely for hanging.
11. Wrap a little extra jute around the center of each snowflake once or twice if you want more texture, then secure the ends on the back with a dot of hot glue.
12. Let all glue and paint set for 10 minutes, then fluff the twine loops and trim any glue strings so the finished pieces look neat and ready to hang.

Variations & Tips
Make them fuller: If you want a slightly more detailed look, add a second set of shorter branch pieces closer to the center of each arm. It uses more cutting, but the snowflakes look extra layered and still stay easy.
Keep the stain natural: Coffee can dry a little lighter than it looks when wet, so I almost always plan on two thin coats instead of one heavy coat. It gives a richer color without making the wood look muddy.
Use the paint sparingly: The prettiest finish comes from barely any white paint on the brush. I dab most of it off on a paper towel first, then skim the edges so it looks softly frosted instead of solid white.
Hang them in a group: These look especially nice clustered together on a wall, across a mantel, or on a tree with wide branch spacing. I love making several at once because one is charming, but a whole set really gives that cozy Christmas impact.
Make them giftable: Tie two or three together with extra jute twine for a sweet handmade hostess gift. They are flat, lightweight, and easy to tuck into a gift bag with cookies or a loaf cake.
Watch the glue strings: Hot glue can leave wispy threads all over darker stained wood. I do one final pass at the end to pull them away by hand, and it makes the whole project look much more polished.