
There are a few holiday crafts I come back to again and again, and this is exactly my kind of project: thrifty, repetitive in the most satisfying way, and far more charming than the simple supply list suggests. If you have a stack of old Christmas cards you cannot quite bear to toss, this is a lovely way to turn them into something dimensional and keepsake-worthy.
I especially like this craft for a quiet afternoon at the table, because the steps are easy, the materials are inexpensive, and the patterned card fronts do most of the decorative work for you. If you can trace, cut, and pin, you can make these—and once you get the rhythm down, it feels a bit like prep work in the kitchen, where a handful of humble ingredients suddenly becomes something special.
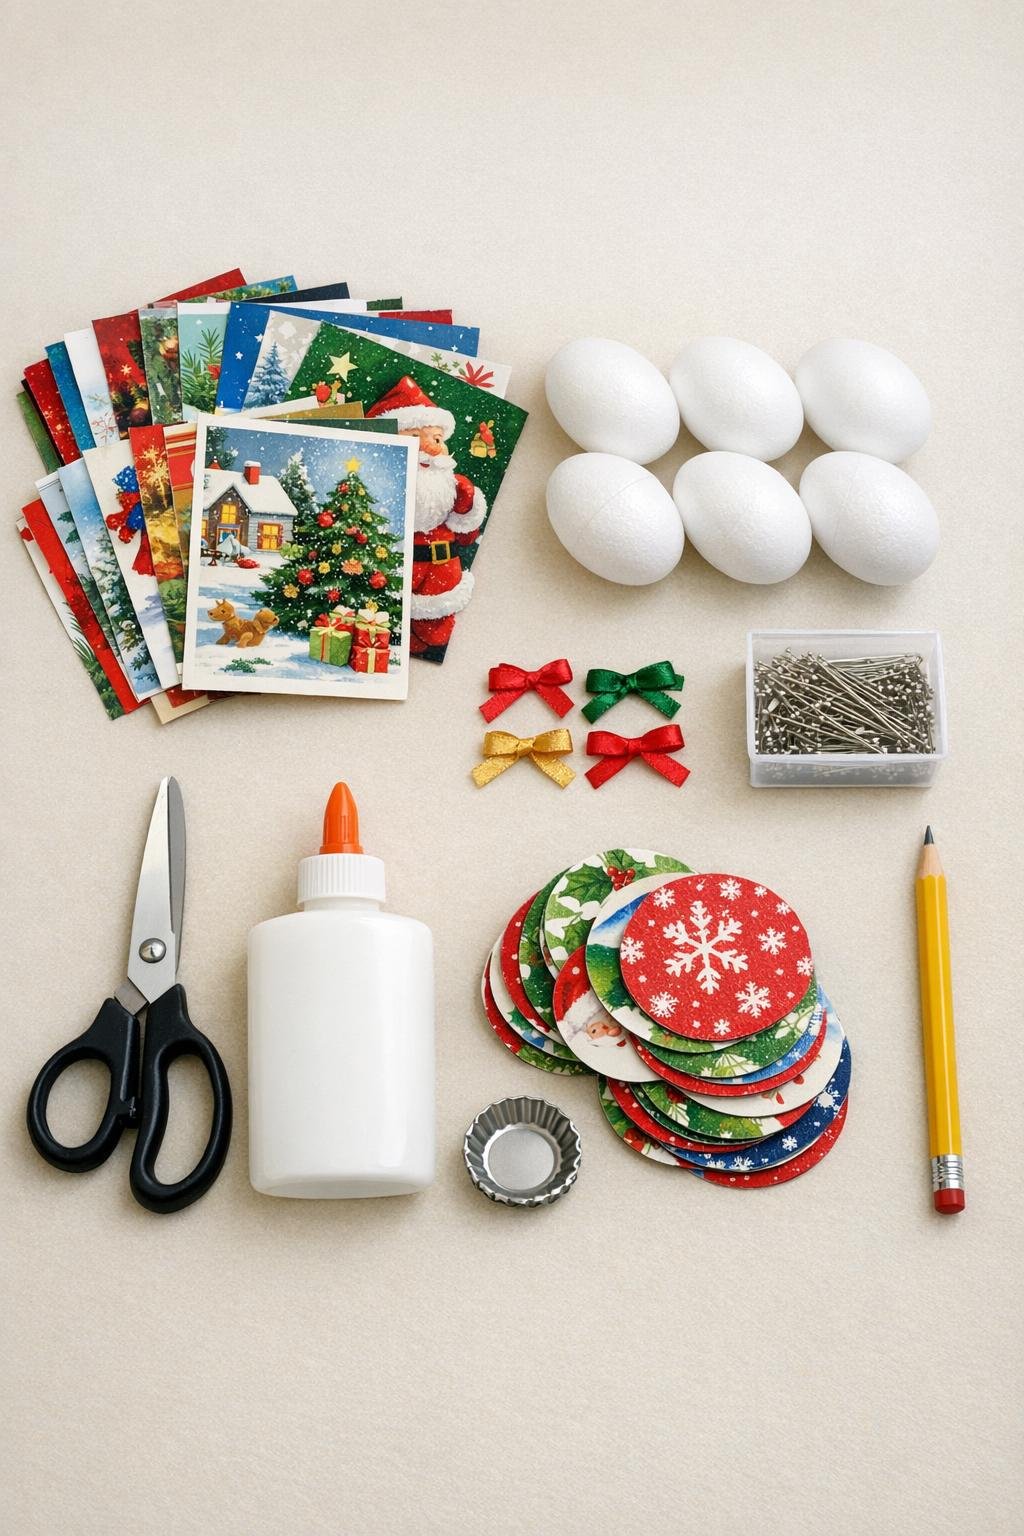
Materials
15 old Christmas cards, enough to cut 60 circles total
Instructions
1. Sort through the Christmas cards and choose sections with strong color, small motifs, or festive patterns so the finished ornaments look full and varied from every angle.
2. Use the bottle cap as a template and trace 60 circles onto the backs of the cards, making each circle about 1 inch wide; cut them out as neatly as you can.
3. Fold each circle in half with the printed side out, then crease it firmly so every piece has a crisp center fold; this crease is what helps create the layered, scaled look.
4. Cut six pieces of ribbon, each 7 inches long, and tie each one into a small loop with the ends overlapped by about 1/2 inch.
5. Add a dab of school glue to the top of one foam egg and pin the overlapped ends of one ribbon loop to the top center; let it sit for a minute so the loop stays in place while you work.
6. Start at the narrow top of the egg and place the first folded circle with its crease facing outward and its open edges against the foam; pin one side of the circle with a straight pin near the lower edge.
7. Pin the other side of that same circle so it forms a raised petal shape, then add three more circles around the top in the same way, slightly overlapping them to create a full first ring.
8. Continue adding folded circles in rows, working your way downward and overlapping each new row over the pins from the row above so the surface looks dense and tidy.
9. Use about 10 folded circles per egg, spacing them so the foam is mostly hidden from the sides while still letting the layered paper texture stand proud instead of lying flat.
10. Turn the egg as you work and mix colors and prints evenly, because alternating dark greens, reds, and lighter snowy patterns gives the ornament more depth and makes it read like a finished holiday decoration instead of scraps pinned on.
11. Cover the bottom point of the egg with the final circle or two, angling them slightly closer together so the shape tapers neatly and no bare foam shows at the tip.
12. Repeat the process for the remaining five foam eggs until you have a full set of six ornaments, then check for gaps and add extra pins anywhere a flap wants to lift.
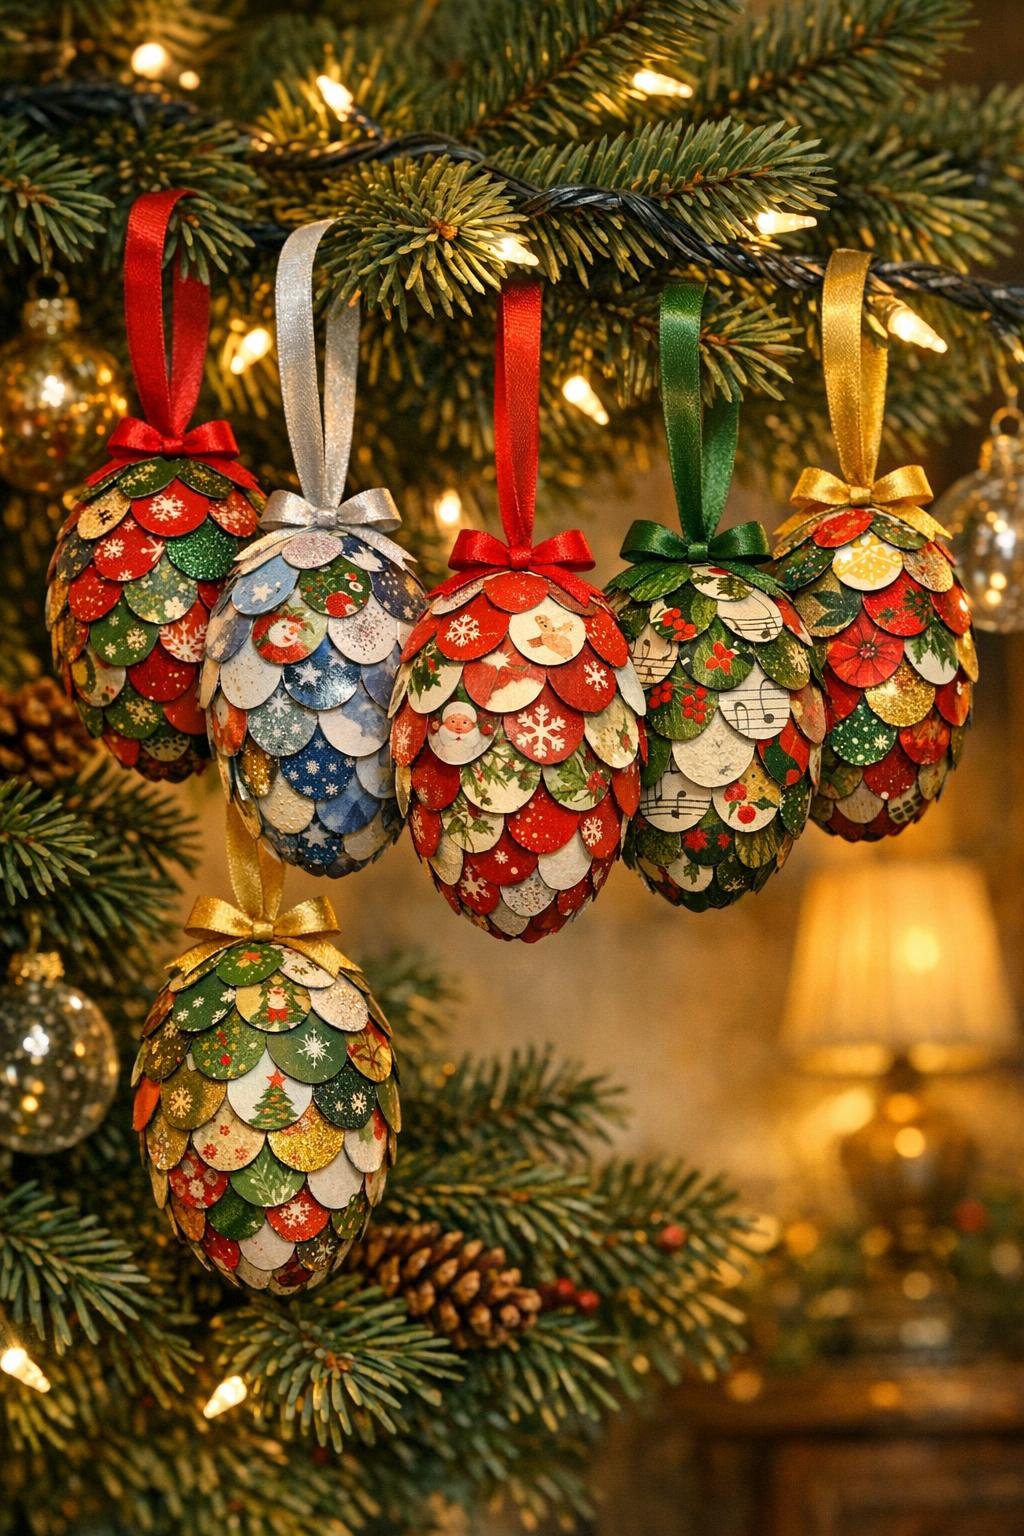
Variations & Tips
Color planning: If you want a more polished set, group your cards before cutting and make one ornament mostly red and gold, another green and white, and another with snowy blue tones. That little bit of planning gives the finished collection a more intentional look.
Circle size: A 1-inch circle works very well on small foam eggs, but if your eggs are slightly larger, you can use a cap closer to 1 1/4 inches wide and still get good coverage with a bold scaled effect.
Pin choice: Plain metal straight pins are perfect here, but if you have pearl-headed pins on hand, they can add a tiny bit of sparkle between the paper layers without any extra work.
Card selection: Cards with foil accents, small holly prints, ornaments, sheet-music graphics, or tiny winter scenes are especially pretty because the designs peek out in fragments and make each layer feel detailed.
Hiding mistakes: If one circle cuts a little unevenly, save it for the bottom rows or the very tip where overlaps disguise imperfections beautifully.
Storage tip: Store these in a shallow box with tissue paper between layers so the paper flaps do not get crushed. They are sturdier than they look, but they keep their shape best when not packed tightly.
Gift idea: A set of these tied into a bakery box or tucked into a vintage tin makes a very sweet handmade gift. I am always drawn to projects that give old materials a second life, and this one has that same pleasure as transforming leftovers into something unexpectedly elegant.