
There are some projects that feel a little like country magic, and this is one of them. You start with the sort of simple things most of us already have on hand, and after a good hard freeze, they become something so striking you can hardly believe it came from your own kitchen sink and a baking sheet. I love projects like that in the heart of winter, when the porch can use a little life and color but the garden beds are sleeping under the cold.
This is a fine little cold-weather craft for anyone who wants a big effect without fuss. If you can fill balloons with water and let the weather do the work, you can make this. It reminds me of the old-fashioned way we used what we had and trusted the season to finish the job, and I think that is part of the charm.
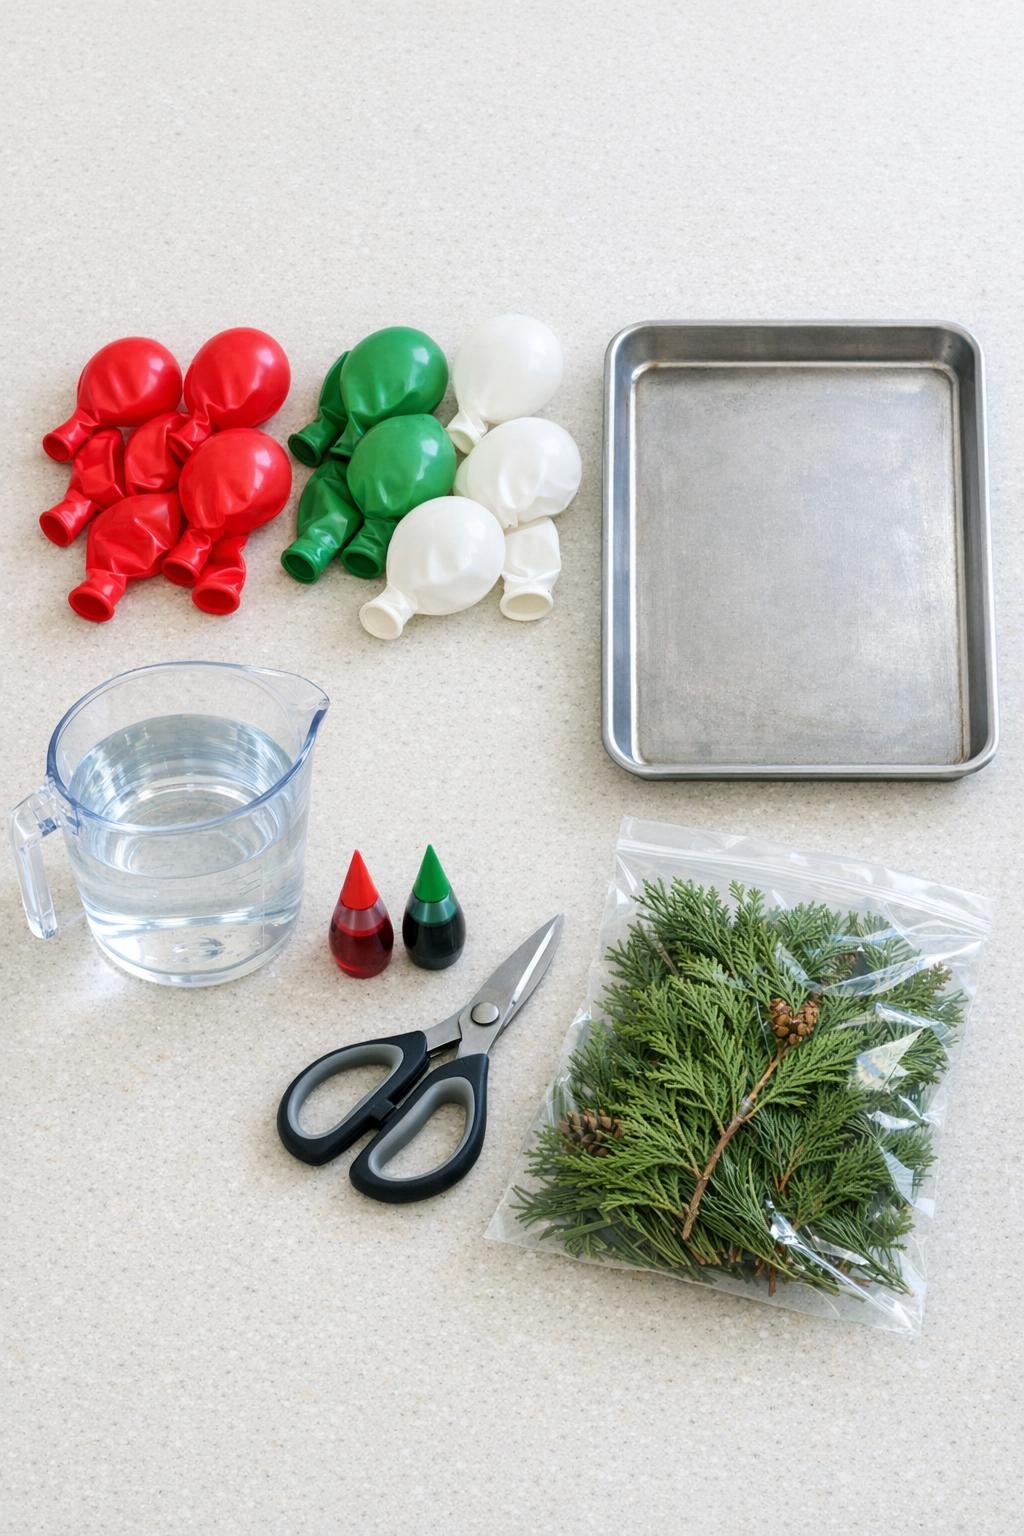
Materials
4 red round balloons
Instructions
1. Set the baking sheet on a flat counter near the sink, and clear enough freezer space or porch space so the sheet can sit level while the balloons freeze.
2. Stretch all 12 balloons with your hands first so they fill more evenly, then sort them into red, green, and white groups of four.
3. Fill 4 red balloons with about 1 1/2 to 2 cups of water each, adding 4 to 6 drops of red food coloring into each balloon before tying for a richer jewel tone.
4. Fill 4 green balloons the same way, using 4 to 6 drops of green food coloring in each one, and tie them snugly so the color stays concentrated.
5. Fill the 4 white balloons with plain water only, tying them at about the same size so all 12 finished pieces look balanced together.
6. Arrange all 12 water balloons on the baking sheet in loose rows, letting them touch lightly so they stay from rolling but still keep their round shape.
7. Place the baking sheet flat in the freezer or outdoors in below-freezing weather, and leave it undisturbed until the balloons are frozen solid, usually overnight or 8 to 12 hours.
8. Bring the baking sheet out just long enough to handle comfortably, then snip the tied end of one balloon with scissors and peel the rubber back slowly.
9. Repeat with the remaining balloons, peeling away all the rubber so you have 12 smooth frozen rounds in red, green, and clear white ice.
10. If any ice pieces have a cloudy flat spot from the baking sheet, let them sit for 2 to 3 minutes and turn them once so the surface softens slightly and looks clearer all around.
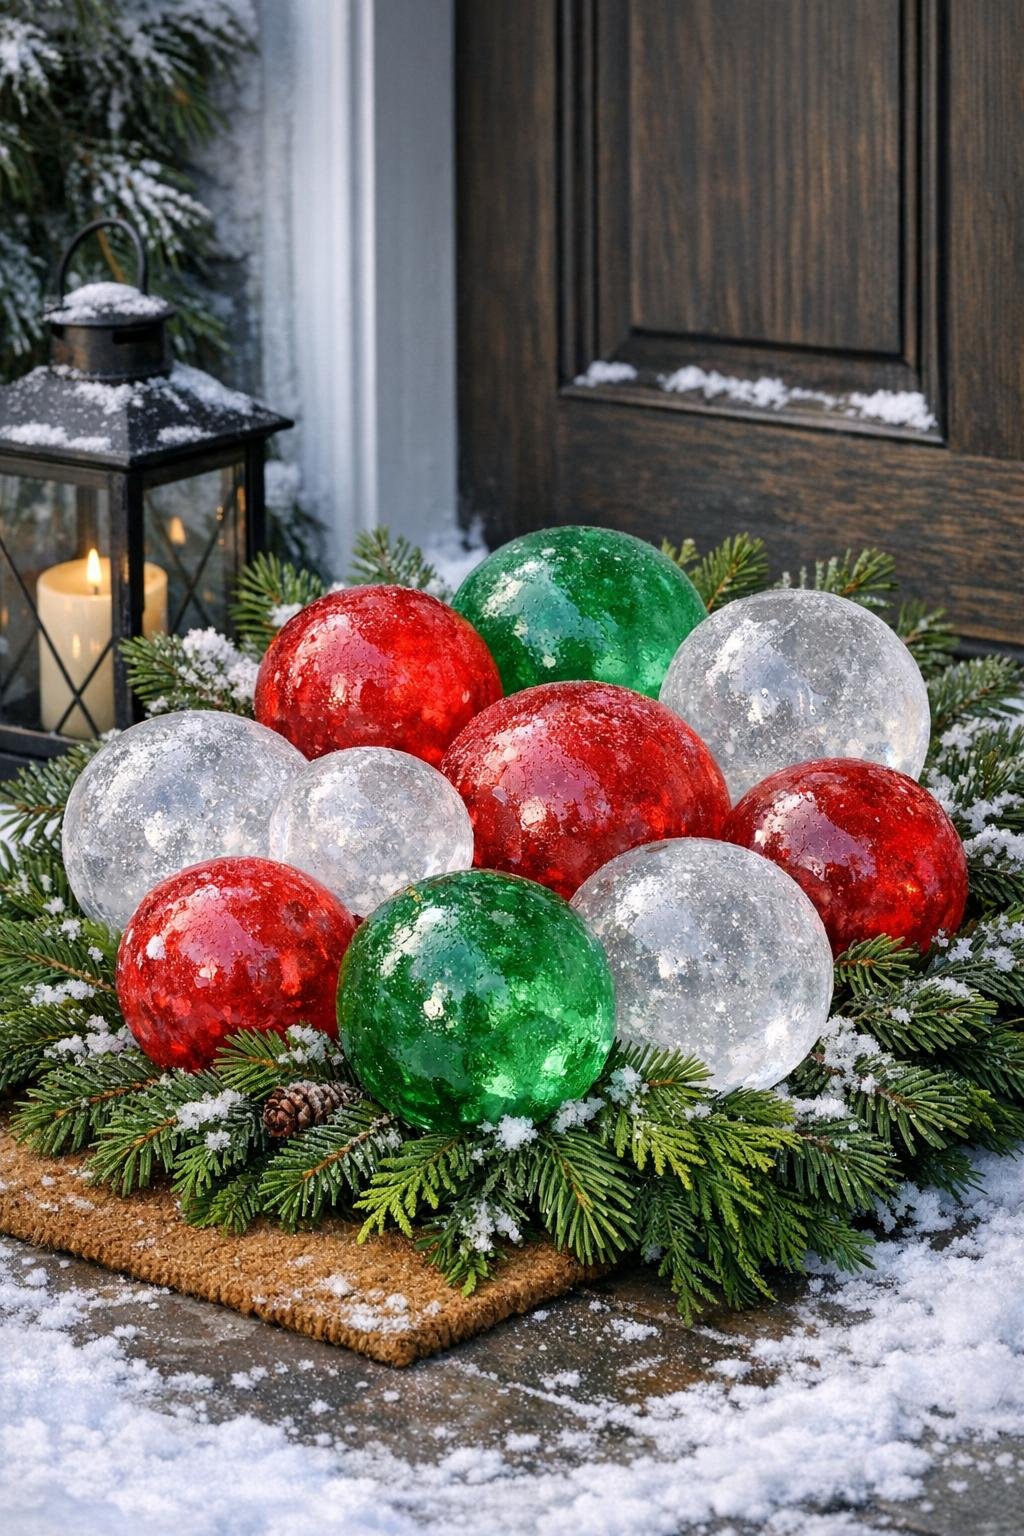
11. Layer fresh greenery sprigs on your porch in a wide generous nest where you want the display, using enough stems to make a full base that lifts and frames the ice.
12. Set the frozen pieces on top of the greenery in a full grouped arrangement, mixing colors evenly and stacking a few gently against one another so the display looks abundant and catches the light from every angle.
Variations & Tips
For deeper color: Add a drop or two more food coloring to each balloon, but do not overdo it or the color can look muddy instead of bright and glassy.
For clearer ice: If your tap water is very cloudy, let it sit a few minutes before filling the balloons; even that small step can give you a prettier, more gem-like finish.
For easier peeling: Let the frozen balloons rest at room temperature for 1 to 2 minutes before cutting, just enough for the rubber to loosen without melting the ice.
For a fuller porch display: Spread the ornaments in two clusters instead of one, such as one on each side of the step, and tuck extra greenery between them for that lush holiday-card look.
For the best weather: These hold their shape longest on truly cold days, so I like to set them out right before company comes or in the morning when the air is still sharp.
For a natural touch: Cedar, pine, spruce, or juniper sprigs all work nicely under the ice, and that little bit of green makes the colors glow all the more beautifully.