
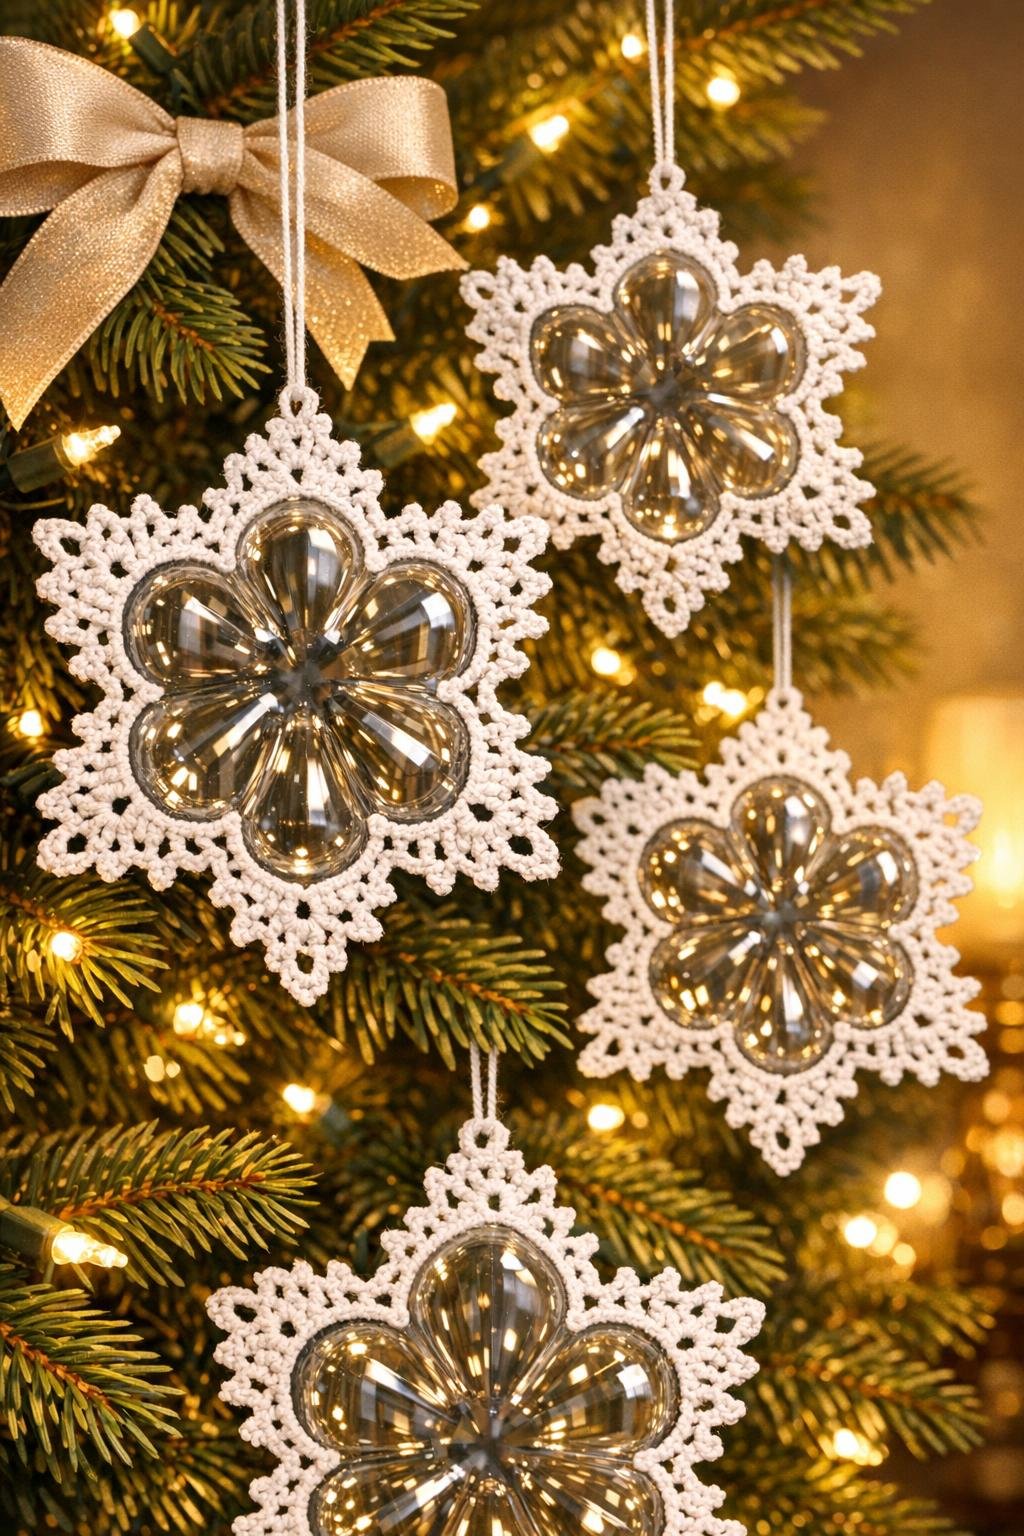
I love a Christmas craft that uses up something headed for the recycling bin and still turns out pretty enough to hang front and center on the tree. This one does exactly that. With just a pair of clean 2-liter bottle bottoms, some white cotton yarn, and a simple crochet edge, you can turn plain plastic into something that catches the light beautifully and looks far more detailed than the effort suggests.
This project is especially nice for anyone who enjoys easy handwork in the evenings. If you can manage basic crochet stitches and don’t mind a little careful cutting, you can make a whole set in an afternoon. I also like that these are lightweight, sturdy, and budget-friendly, which is a real gift when you’re decorating a full tree or making extras to share.
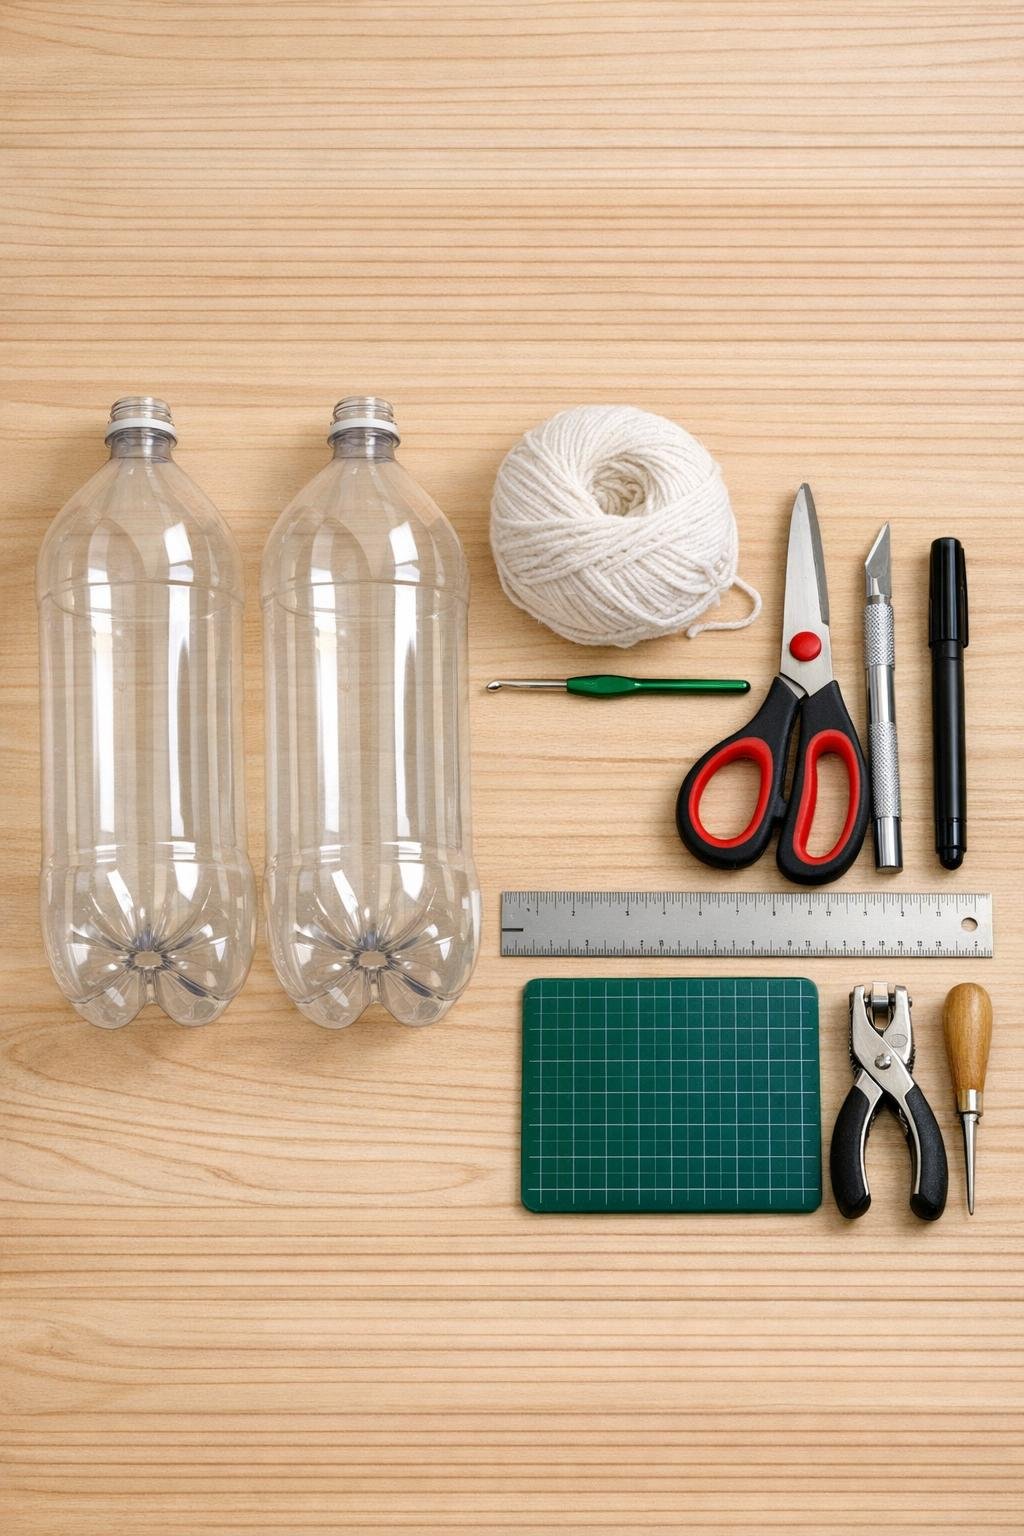
Materials
Instructions
1. Wash the 2-liter bottles well, remove the labels, and let them dry completely so the plastic is clean and easy to handle.
2. Use the ruler and marker to draw a cutting line around each bottle about 1 1/2 to 2 inches up from the bottom, keeping the line level all the way around.
3. Carefully pierce the bottle side with the craft knife, then cut around the line with scissors to remove each bottom section.
4. Trim the cut rims so they are smooth and even, removing any jagged bits until both pieces sit neatly and feel safe to handle.
5. Make small evenly spaced holes around each rim, placing them about 1/4 inch apart and about 1/8 inch below the edge; aim for 20 to 28 holes per piece depending on the bottle shape.
6. Join the yarn through one hole with a slip knot, then work 1 single crochet through each hole all the way around, keeping the stitches snug against the plastic without puckering it.
7. Slip stitch to the first stitch to close the round, then work a second round of crochet with a decorative edge: in the first stitch make 1 single crochet, in the next make 3 double crochet, in the next make 1 single crochet, and repeat around to build pointed, snowy scallops.
8. If the edge starts to ripple too much, skip one stitch every few repeats; if it looks too tight, add an extra double crochet into a scallop so the ornament lies flat.
9. Cut the yarn, pull the tail through, and use the yarn needle to weave in the end neatly through the back of the crochet stitches.
10. Repeat the crochet edging on the second bottle bottom so you have a matching pair.
11. To make hanging loops, join yarn at the top of one ornament, chain 12 to 16 stitches, and slip stitch back into the same point; weave in the tail securely.
12. Fluff and shape the crocheted points with your fingers so each piece looks even, then hang them where the light can shine through the clear centers.
Variations & Tips
For a fuller lace look: Add a third round with chain-3 picots between scallops. I like this when I want the ornaments to read a little more ornate on a bigger tree.
For picky crafters who don’t love fussy crochet: Keep the edge simple with 2 single crochets in each hole on round one and a basic scallop on round two. It still looks special without much stitch counting.
To make them sparkle: Brush a very light coat of clear-drying craft glue on the plastic center and dust with fine iridescent glitter. Let it dry fully before hanging.
If your plastic cracks: Punch the holes a little farther from the edge and make them with a sharp awl instead of forcing a dull tool through. Soda bottle plastic is sturdy, but it behaves best when handled gently.
For a coordinated tree: Make several ornaments from more bottle bottoms and vary the edging pattern slightly from one to the next. A whole cluster looks lovely, and because they are so lightweight, they fill empty branches beautifully.
Best yarn choice: Cotton holds a crisp edge better than soft acrylic for this project. I’ve found that white sport weight gives that snowy, clean finish without making the rim feel bulky.