
In a small kitchen, the little things can make the biggest difference. I’m always looking for simple ways to tame the mess under the sink, especially in that awkward spot where useful odds and ends seem to multiply overnight. This project is one of those quick household fixes that takes just a few minutes but makes daily cleanup feel so much easier.
I love this kind of DIY because it uses something most of us already have on hand, costs basically nothing, and helps turn clutter into something neat and practical. If you have a stack of crinkly bags and a crowded cabinet, this is an easy afternoon fix that feels surprisingly satisfying.
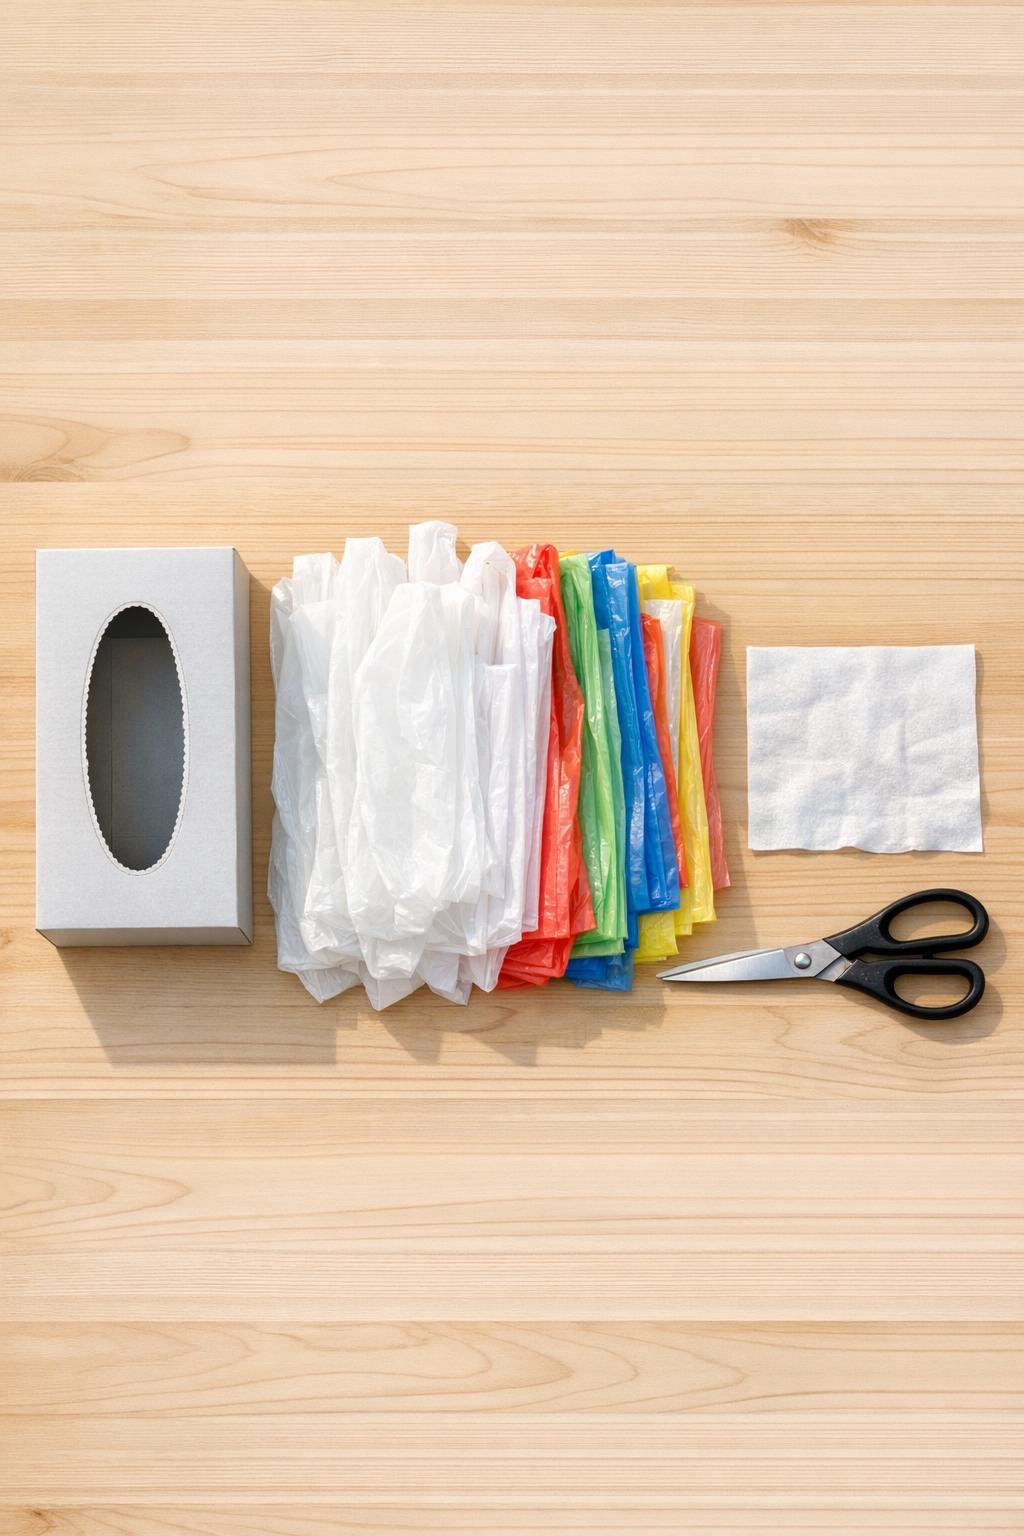
Materials
1 empty rectangular tissue box, standard full-size
Instructions
1. Empty the tissue box completely and wipe the inside and outside so it is clean and dry before you start.
2. Check the top opening of the box, and if the plastic edge is torn or rough, trim it neatly with scissors and reinforce it with a short piece of tape.
3. Lay one grocery bag flat on the counter, smooth out the air, and tuck in the handles so it forms a long rectangle.
4. Fold that bag lengthwise into a strip about 3 inches wide, starting from the bottom and folding toward the handles.
5. Repeat with the rest of the bags, then stack them so the bottom of one bag overlaps the handle end of the next bag by 3 to 4 inches, creating one long connected chain.
6. Take the first bag in the chain and begin stuffing it gently into the tissue box through the top opening, keeping the overlapped chain together as you go.
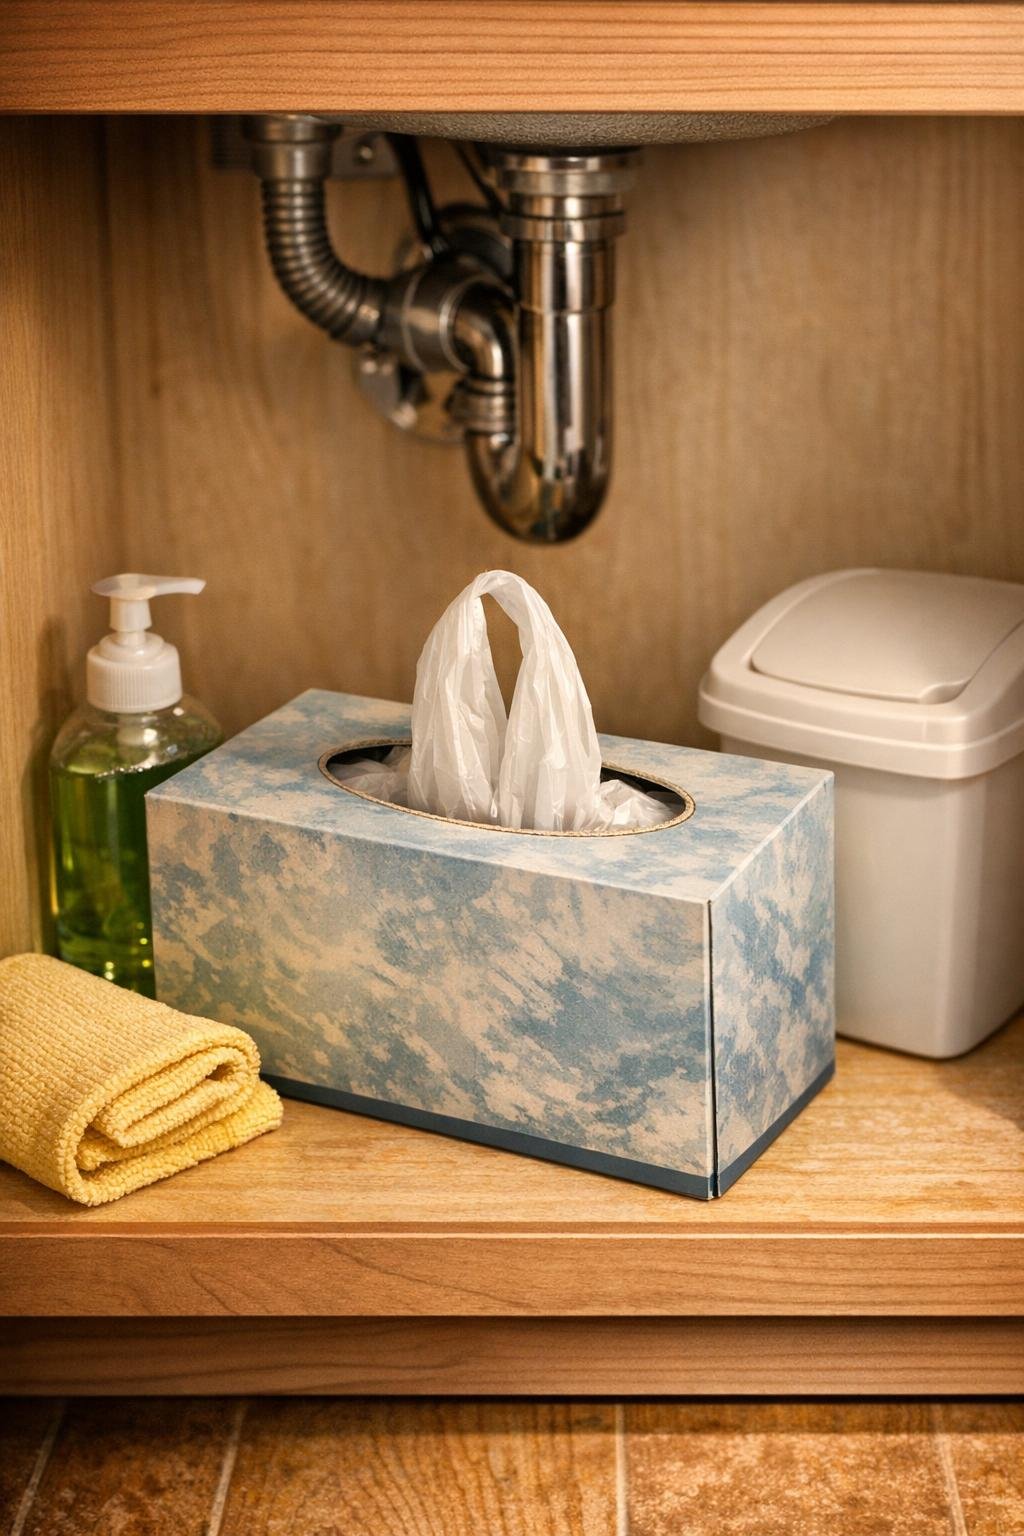
7. Leave the handles of the last bag sticking up through the opening by about 2 inches so you can grab it easily.
8. Test the pull by tugging one bag out slowly; the next bag should rise into place right behind it, and if it sticks, remove a few bags and repack them a little looser.
9. Place the filled box under the sink or in a nearby cabinet with the opening facing up so the bags stay tidy and easy to reach.
Variations & Tips
For extra-small cabinets: Use a boutique-size tissue box and 10 to 15 bags instead of a full-size box if your under-sink space is especially tight.
For smoother pulling: I’ve found that flatter bags work better than tightly wadded ones, so take an extra minute to fold them neatly before loading the box.
For stronger boxes: If your tissue box feels flimsy, choose one with a sturdier cardboard shape or wrap the outside with clear packing tape to help it hold up longer.
For family cleanup days: This is a wonderful little job for older kids to help with while you straighten the kitchen, and it turns a messy pile into something everyone can use.
For picky storage spots: If you do not want it under the sink, tuck the box in a pantry corner, laundry room shelf, or mudroom cabinet where grab-and-go bags are handy.
Refresh tip: When the box starts looking worn, just move the remaining bags into a fresh empty tissue box and you are good to go again.