
There is something mighty satisfying about taking a plain old piece of metal that has outlived its original job and turning it into something cheerful enough to stop folks in their tracks. I have always had a soft spot for thrifty makes like that. In my house, if an object is sturdy and still has a bit of usefulness left in it, I just about can't bear to toss it without giving it one more chance to shine.
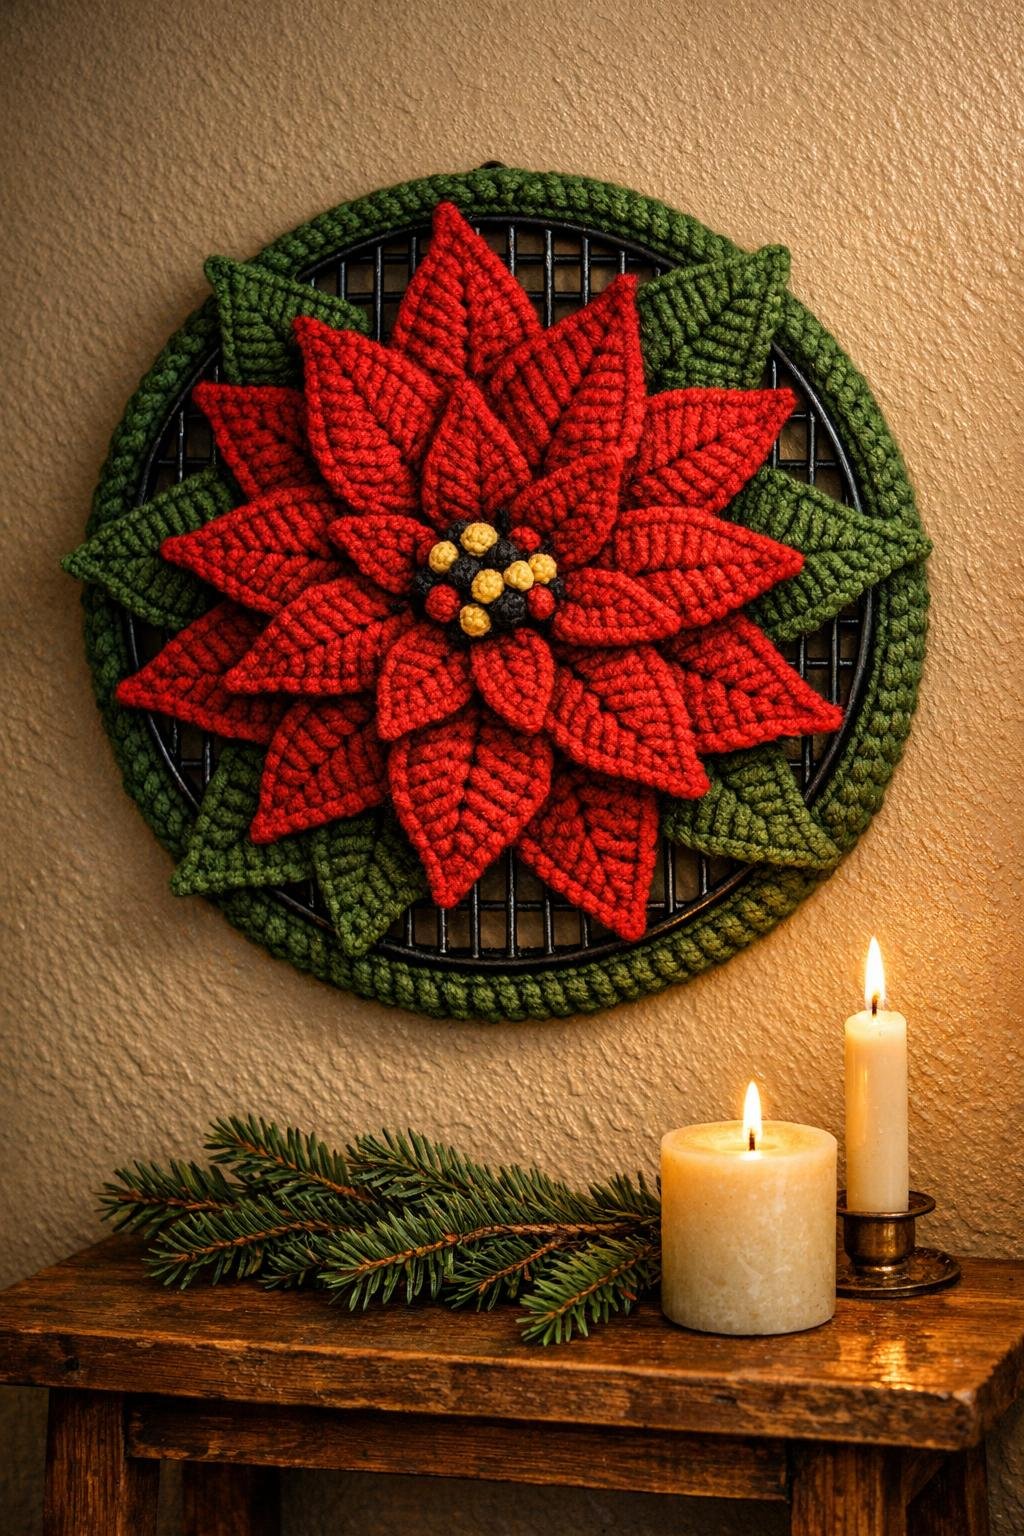
This crochet-and-upcycle project is a good one for anyone who knows a few basic stitches and wants a big, eye-catching result without fussy construction. The metal grate does the hard work of giving you shape and structure, and the yarn softens it right up. It is the kind of project that looks clever and polished once it's hanging up, but the process itself is calm and repetitive in the nicest way.
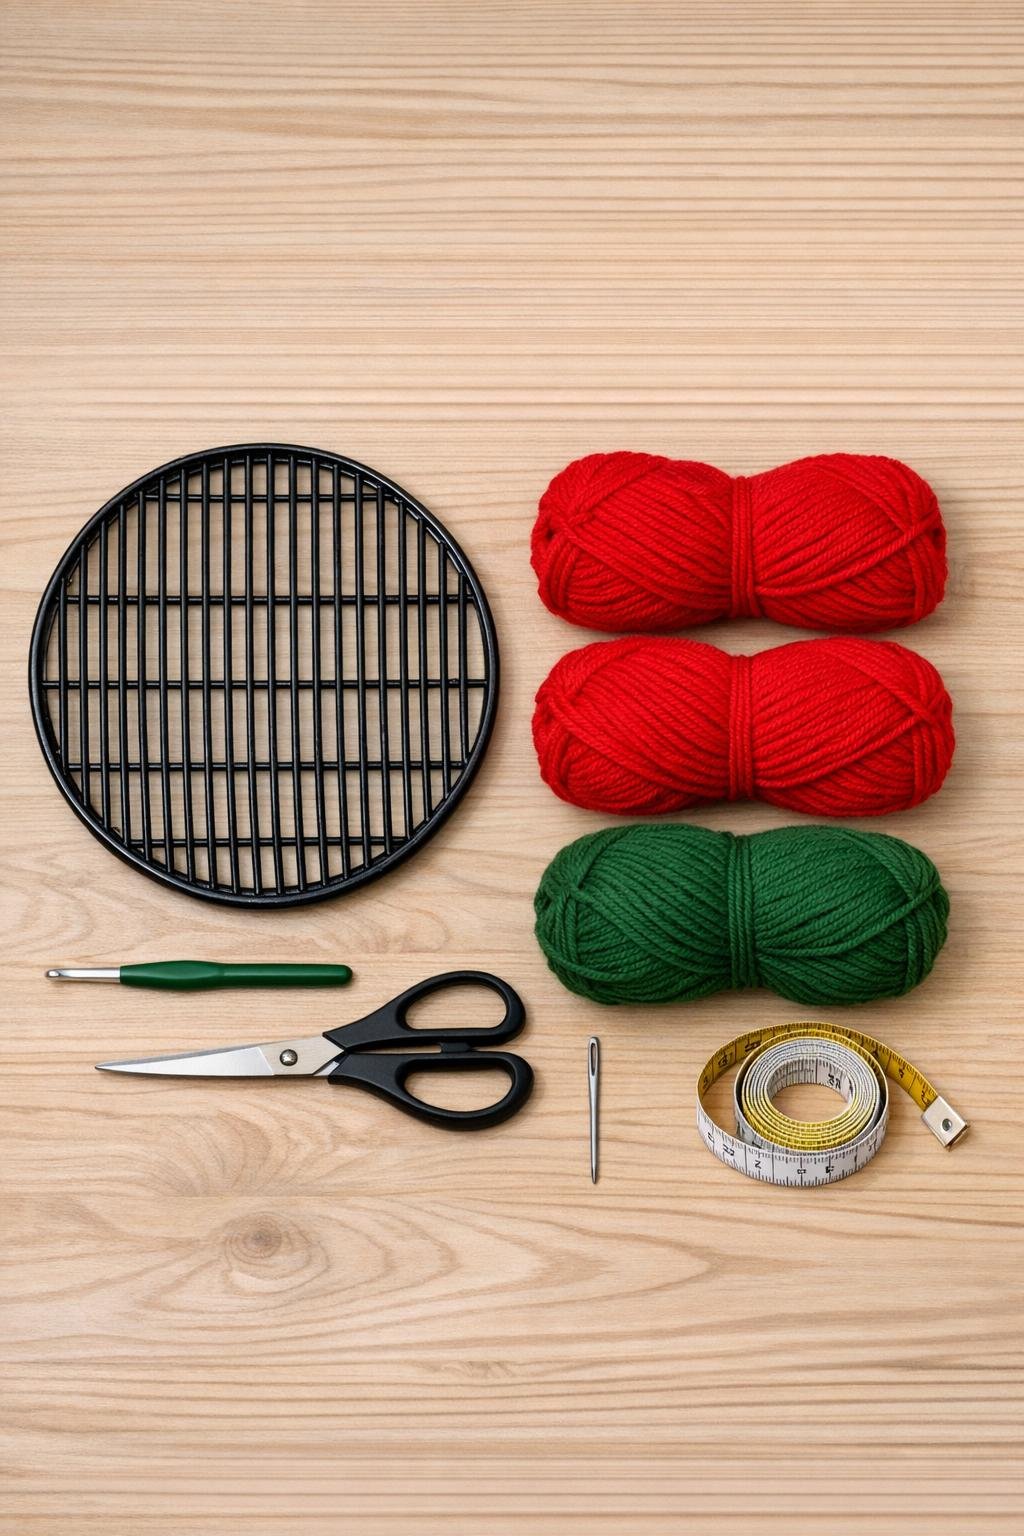
Materials
1 round charcoal grill grate, 17 to 18 inches wide, cleaned and fully dry
Instructions
1. Scrub the grill grate well, dry it completely, and snip away any rust flakes or greasy residue so the yarn stays clean and catches smoothly.
2. Tie the red yarn securely around one inner ring of the grate, then work single crochet stitches through each open slot, wrapping the metal as you go to create the first neat red round.
3. Continue adding red stitches around the grate, moving slot by slot and ring by ring until the center area is filled with a dense crochet circle about 5 inches across.
4. Begin shaping the petals by crocheting outward along the grate in eight evenly spaced sections, working 2 double crochet stitches into slots where you want extra width and 1 stitch where you want the petal edges to taper.
5. Work back and forth over each red section for 2 to 3 short rows, decreasing at the edges to form pointed tips so the flower looks full and starry rather than flat.
6. Join the green yarn near the outer ring and crochet into every open slot around the edge, covering the metal with a clean green border.
7. Add green leaf shapes between every other red petal by working clusters of double crochet stitches outward from the border, then tapering them back down over the next row to make six to eight pointed leaves.
8. Fill any bare-looking spots by slipping red or green stitches over exposed sections of the grate, keeping the overall shape balanced and the coverage generous.
9. Cut the yarn, weave in all ends on the back with the yarn needle, and tug each petal and leaf gently into place so the points sit evenly.
10. Tie the 14-inch green yarn loop securely to the top of the grate, then give the whole piece a final wipe and light shaping before hanging.
Variations & Tips
For a fuller look: Use nearly all the open grate slots instead of skipping spaces. A densely stitched surface gives this project the rich, lush look that makes it feel finished and intentional.
If your grate is larger: Add a second layer of smaller inner petals in red before working the outer petals. That extra layer makes a bigger grate look beautifully filled instead of stretched thin.
For easier stitching: If the metal feels rough on your yarn, wrap especially sharp sections first with a round of slip stitches. I have done that on older salvage pieces, and it makes the rest of the crochet much smoother.
Color option: Deep burgundy red with forest green gives a traditional farmhouse feel, while bright cherry red with lighter green feels fresher and a little more playful.
Hanging tip: This is lovely on a wall, covered porch, or protected door area, but I would keep it out of hard weather. Yarn holds up best when it stays dry and sheltered.
Finishing touch: If you like a dressed-up holiday look, tie on a small gold or plaid bow at the top hanging loop. It takes only a minute and gives the whole piece that final bit of polish.