
I love a Christmas craft that turns something humble and slightly nostalgic into something you’d actually be excited to hang on the tree. Old metal cookie cutters are perfect for that. They already have charming shapes, they’re lightweight, and with a neat round of crochet around the rim, they suddenly feel softer, more finished, and much more special than a box of forgotten baking tools tucked in a drawer.
This is the sort of project I recommend to anyone who enjoys handwork but doesn’t want a complicated pattern. If you can make basic crochet stitches and you have a few old cutters to rescue, you can make a whole coordinated set in an afternoon. I especially like this project because it gives you room to play with color and little finishing touches, while still being simple enough to repeat for gifts, swaps, or a full tree’s worth of ornaments.
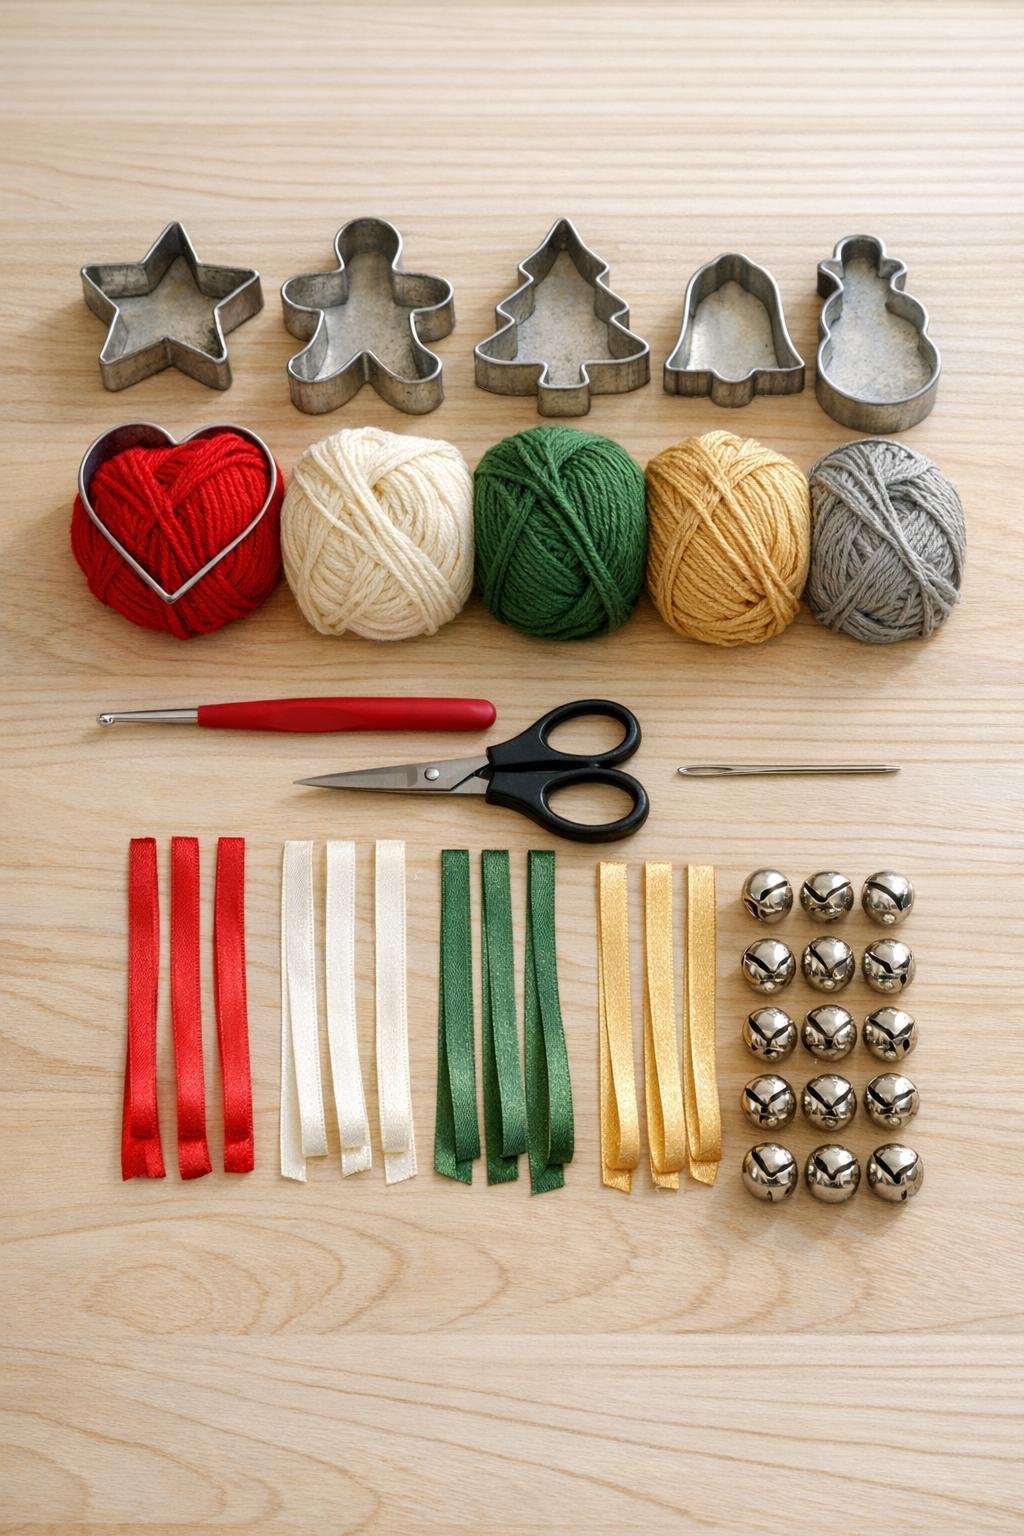
Materials
8 old metal cookie cutters in assorted holiday shapes, about 2 1/2 to 4 inches each
Instructions
1. Wash and dry the cookie cutters well, then check that all rims are smooth and not bent outward. If one has a rough spot, press it gently back into shape so the yarn will sit neatly around the edge.
2. Choose a yarn color for each cutter and cut a starting length you can comfortably work with, usually 2 to 3 yards at a time. I like mixing classic Christmas shades so the set feels coordinated without looking too matched.
3. Make a slipknot on your hook, hold it against the outer rim of one cutter, and work single crochet stitches tightly around the metal by passing the hook over the rim and pulling the yarn through. Keep the stitches snug and touching so the metal starts disappearing under the yarn.
4. Continue covering the entire cutter with single crochet, adding or slightly spacing stitches as needed around points and curves so the yarn lies flat. On a simple 3-inch shape, this is usually about 45 to 70 stitches total depending on the outline.
5. When you reach the beginning, join with a slip stitch into the first stitch and check the coverage. If any metal peeks through, slide the stitches together with your fingers before fastening off.
6. For a fuller ornament edge, work a second decorative round directly into the crochet-covered rim by adding one stitch into each single crochet: use slip stitches for a clean corded edge or single crochet for a slightly puffier finish. Change to a contrast color here if you want the shapes to stand out more on the tree.
7. Fasten off with a 4-inch tail, thread the tail onto a yarn needle, and weave it neatly through the back of the stitches in two directions. Add a tiny dot of clear-drying craft glue if the cutter is very slick or if you plan to mail the ornaments.
8. Cut an 10-inch ribbon for the hanger, fold it in half, and thread the loop through the top of the ornament around a sturdy stitch. Pull the ribbon ends through the loop and tighten, or tie the ribbon directly into a small knot at the top if the shape hangs better that way.
9. Tie 1 or 2 small jingle bells onto the ribbon tails or stitch one at the bottom point of the ornament with matching yarn. If you want an extra finished touch, add a small wooden bead above the bell or trim the ribbon ends into neat angles.
10. Repeat with the remaining cookie cutters, varying the yarn colors and edge finishes so the set looks collected and generous. Group similar shapes together or mix stars, trees, hearts, and gingerbread figures for a more playful vintage look.
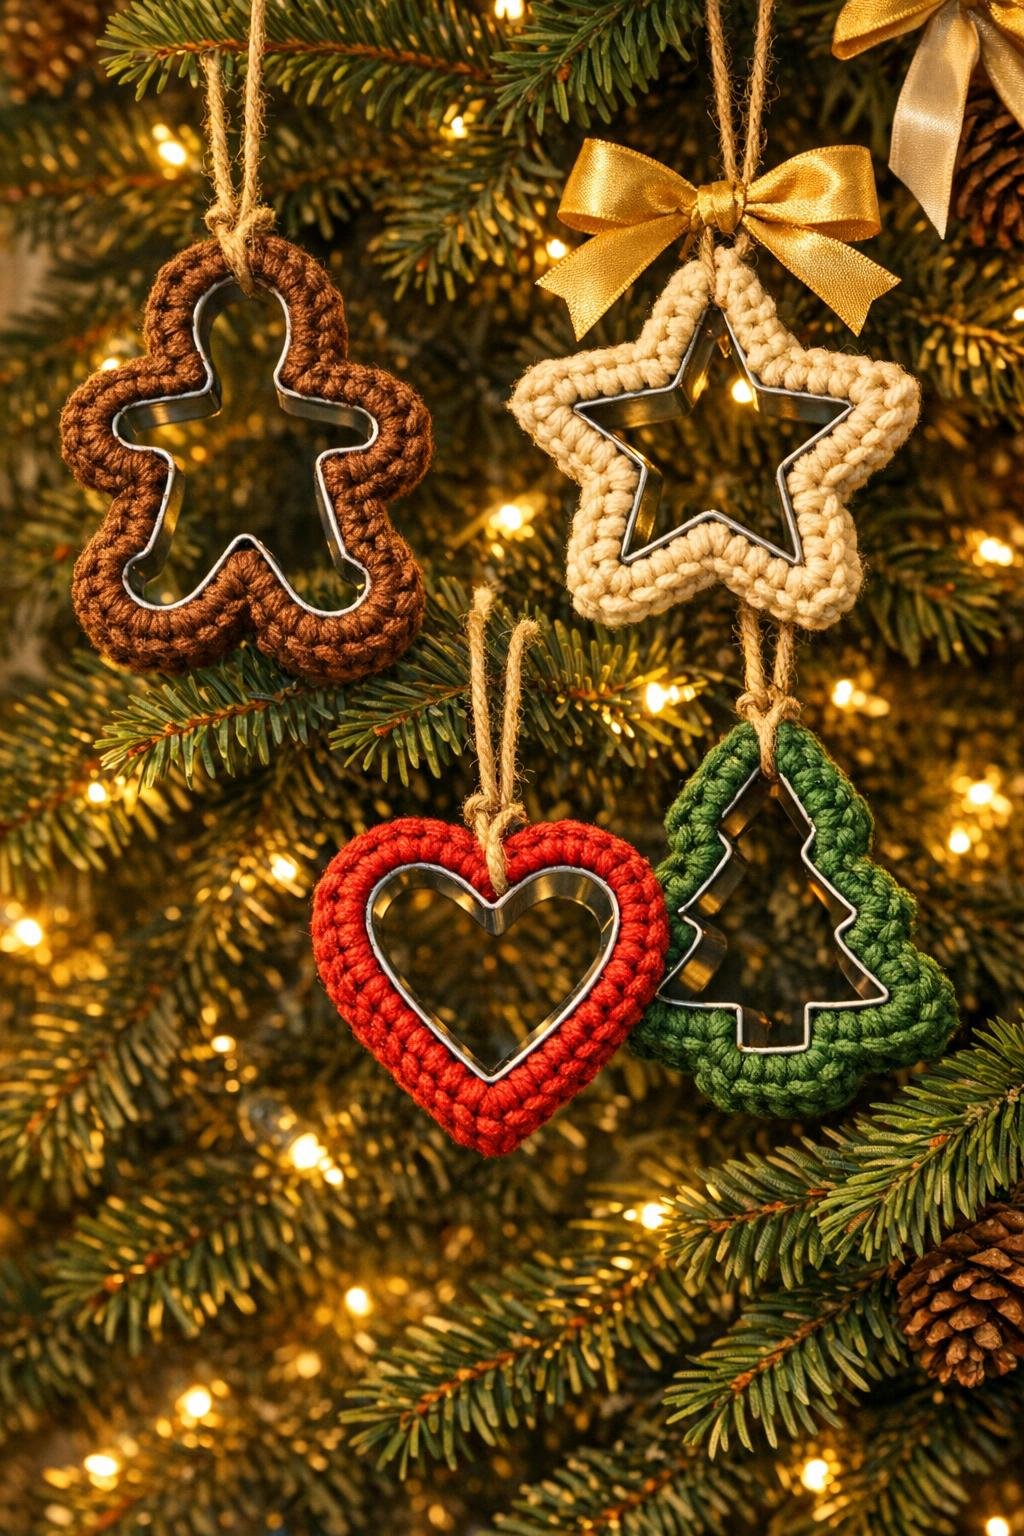
Variations & Tips
Color planning: If your cutters are all different shapes, repeating just 3 or 4 yarn colors keeps the collection looking intentional. I often treat it like planning a holiday menu: a little variety is lovely, but you still want everything to belong together.
Best yarn choice: Fingering weight cotton works especially well because it gives crisp stitch definition and grips the metal better than slippery acrylic. If your cotton is very fine, just pack the stitches closely for full coverage.
For very detailed shapes: Tiny angles and narrow sections are easier to cover with slightly looser tension and more frequent stitch adjustments. Add an extra stitch at deep corners so the crochet doesn’t pull and distort the outline.
Vintage look: Use cream, faded red, sage green, and a touch of gold, then finish with velvet-style ribbon instead of satin. This gives the ornaments a wonderful old-kitchen-meets-heirloom feeling.
Gift set idea: Make 4 to 6 coordinated ornaments and tie them together with ribbon for a simple handmade gift. They’re especially nice for bakers, newlyweds, and anyone who loves that old-fashioned Christmas charm.
Storage tip: Wrap each ornament in tissue or stack them flat in a sturdy cookie tin so the crochet edges stay clean and even from one season to the next.