
Small bathrooms teach you to be clever, and over the years I’ve learned that the tiniest bit of unused space can make a room feel twice as workable. When a room is short on cabinets and every counter seems to collect bottles, swabs, and little daily necessities, I start looking for ways to tidy things up without making the room feel crowded or fussy.
This is one of those easy little home projects that gives you an outsized reward for almost no effort. It’s especially nice for apartment bathrooms, guest baths, powder rooms, and older homes where storage was never exactly generous. I’m fond of projects like this because they don’t ask for power tools or a free afternoon—just a practical eye and a willingness to repurpose something pretty into something genuinely useful.
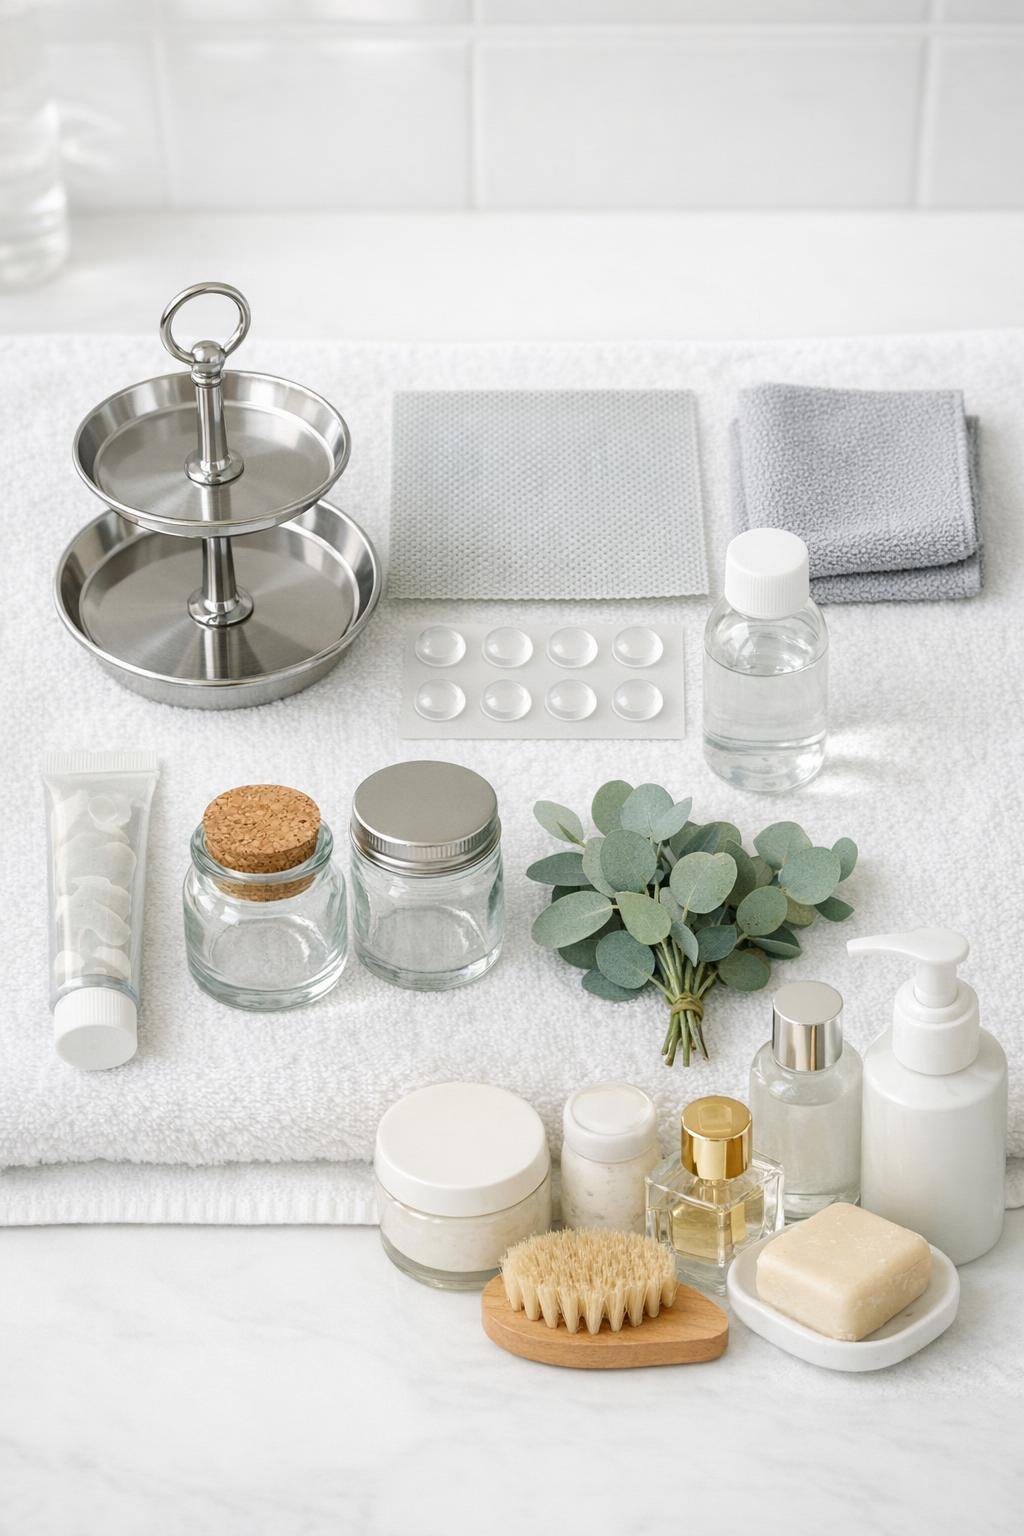
Materials
1 small two-tier cake stand, 10 to 12 inches tall with approximately 6-inch top plate and 8-inch bottom plate
Instructions
1. Wipe down the top of the toilet tank, especially the back corners and center, using rubbing alcohol on a microfiber cloth so the surface is clean and dry.
2. Check that your two-tier cake stand sits level on the tank lid and that the lid can still be lifted if needed; choose a stand narrow enough to leave a little breathing room around the edges.
3. Turn the cake stand over and place 4 clear rubber bumpers evenly around the underside of the bottom plate to keep the stand from sliding and to protect the toilet tank lid.
4. Roll 4 pea-sized bits of museum putty and press them near the bottom plate edge, spacing them evenly so the stand will stay put but can still be removed later.
5. Set the cake stand carefully on the back of the toilet tank and press gently so the bumpers and putty grip without shifting the lid.
6. Cut the non-slip shelf liner into two neat circles or soft-edged rounds to fit inside both tiers, then set them in place to keep small items from rattling or sliding.
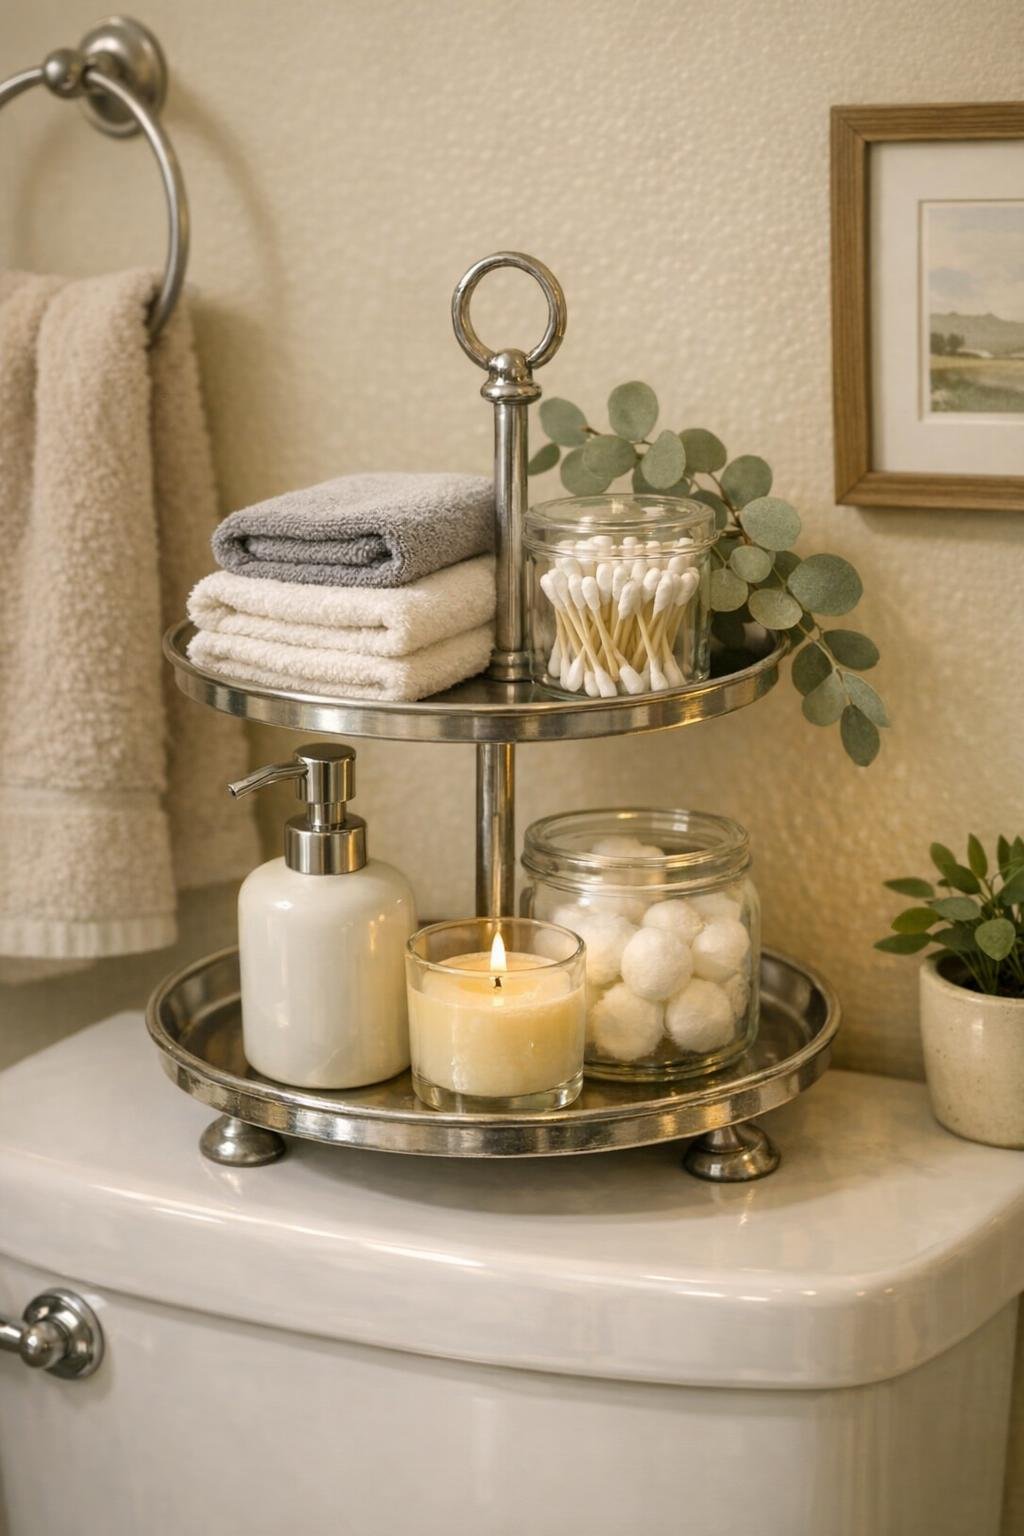
7. Place the taller or slightly heavier items on the bottom tier first, such as lotion, room spray, or a small candle, keeping everything centered and balanced.
8. Add lighter, smaller things to the top tier, like cotton swabs in a jar, hair ties, lip balm, or guest toiletry extras, so the upper plate stays tidy and not overcrowded.
9. Tuck in the small faux greenery pick or a neatly folded mini washcloth to soften the look and make the whole arrangement feel intentional instead of purely utilitarian.
10. Step back and edit the display until it looks full but orderly, leaving enough open space so the stand feels polished and easy to use every day.
Variations & Tips
Use a handle-top stand: If your cake stand has a loop or knob handle at the top, it makes the whole piece easier to lift off when you need to access the tank lid for cleaning or repairs.
Choose lightweight containers: I like small jars and modest bottles here because a toilet tank lid is no place for heavy storage; keep the prettiest things petite and practical.
Match your bathroom finish: A chrome, white, black, or brass cake stand can help this little organizer look right at home with your faucet, mirror, or light fixture.
Keep the top tier simple: The upper plate looks best with just two or three small items, and in a tight bathroom that visual breathing room makes the whole space feel calmer.
Line it for easy cleaning: Shelf liner is worth the extra minute because it prevents clinking, catches drips, and can be lifted out and rinsed whenever things need freshening up.
Try a guest-bath version: For company, I’d stock the stand with rolled washcloths, travel tissues, cotton swabs, and a little room spray; it feels thoughtful in the same old-fashioned way my mother liked to prepare a room for visitors.
Don’t block the flush mechanism: Before settling on your final arrangement, flush once and make sure nothing vibrates, tips, or interferes with the tank lid sitting properly.