
Closet projects are some of my very favorite kinds of projects because they make everyday life feel smoother right away. When I can turn a crowded, frustrating space into something that works better in just a few minutes, that is my kind of win—especially on a busy week when I do not have time for a full room makeover.
This simple bedroom closet organizer is perfect for anyone who wants a tidier space without tools, drilling, or a big budget. I love projects like this because they use easy-to-find basics and give you that satisfying “why didn’t I do this sooner?” feeling the minute everything is put in place.
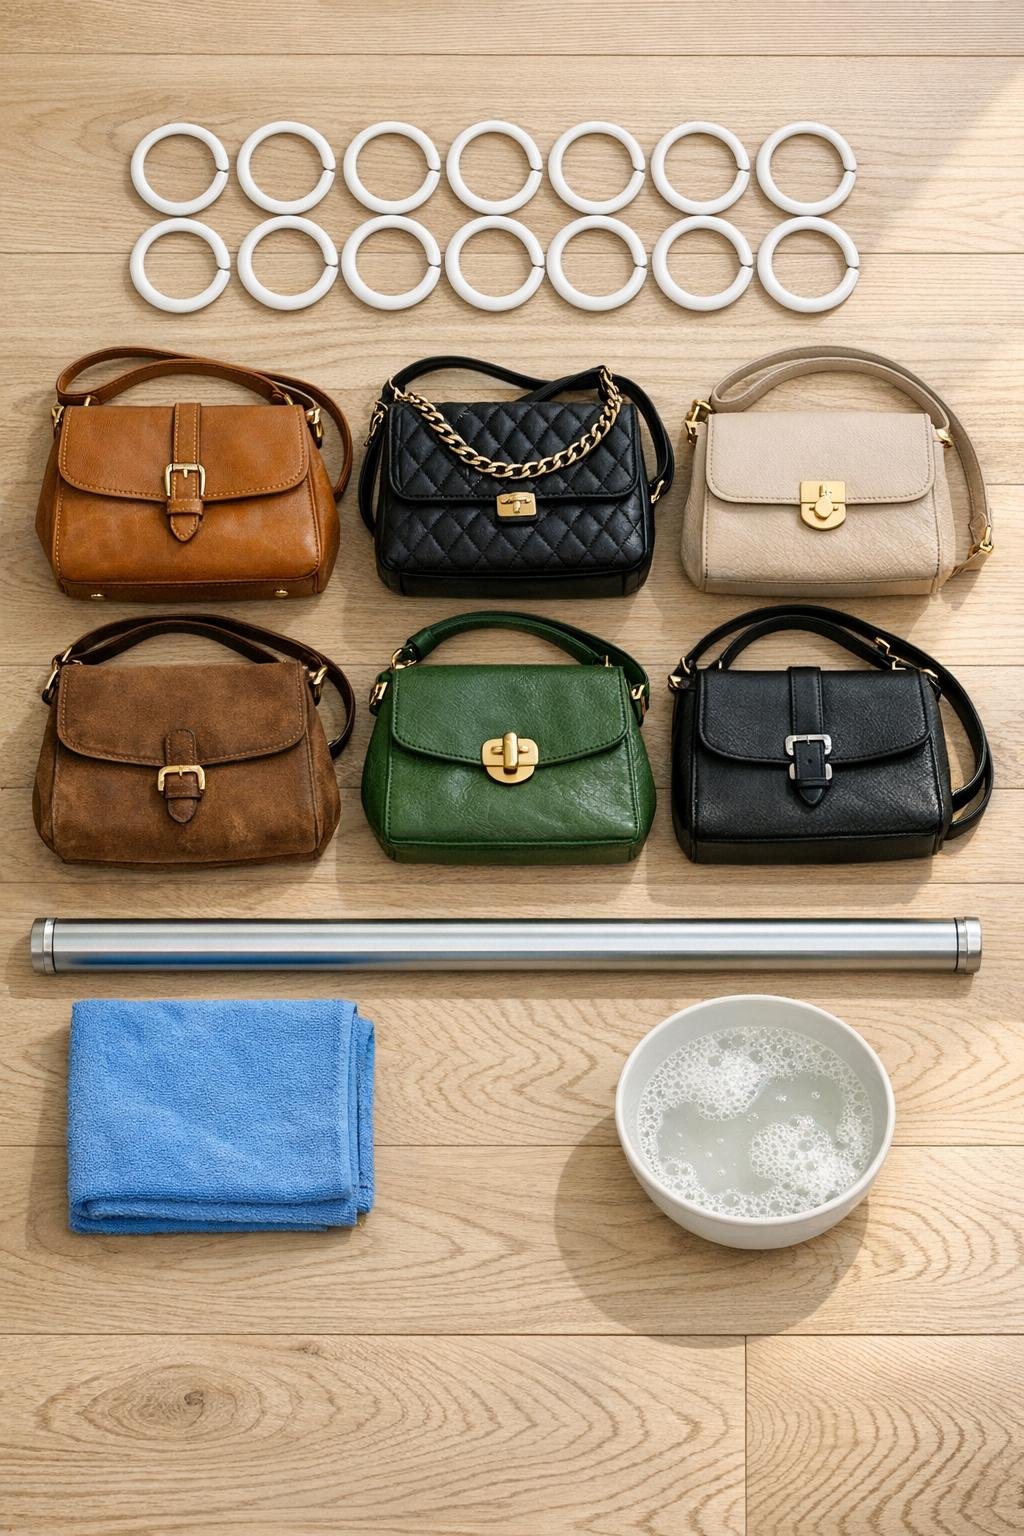
Materials
12 plastic shower curtain rings, snap-open style, standard 2 3/4-inch size
Instructions
1. Remove the handbags and any nearby hanging clothes from the section of closet rod where you want to build the organizer, then wipe the rod clean with the microfiber cloth so the rings slide easily.
2. If the shower curtain rings are dusty or stiff from packaging, wash them quickly in mild soapy water, dry them well, and test one open and closed to make sure the latch snaps securely.
3. Choose one side of the closet rod that is easy to reach, leaving enough room beside your hanging clothes so the bags will not get crushed.
4. Open the first shower curtain ring and snap it around one handbag strap or handle, then close it completely so the bag is captured securely inside the ring.
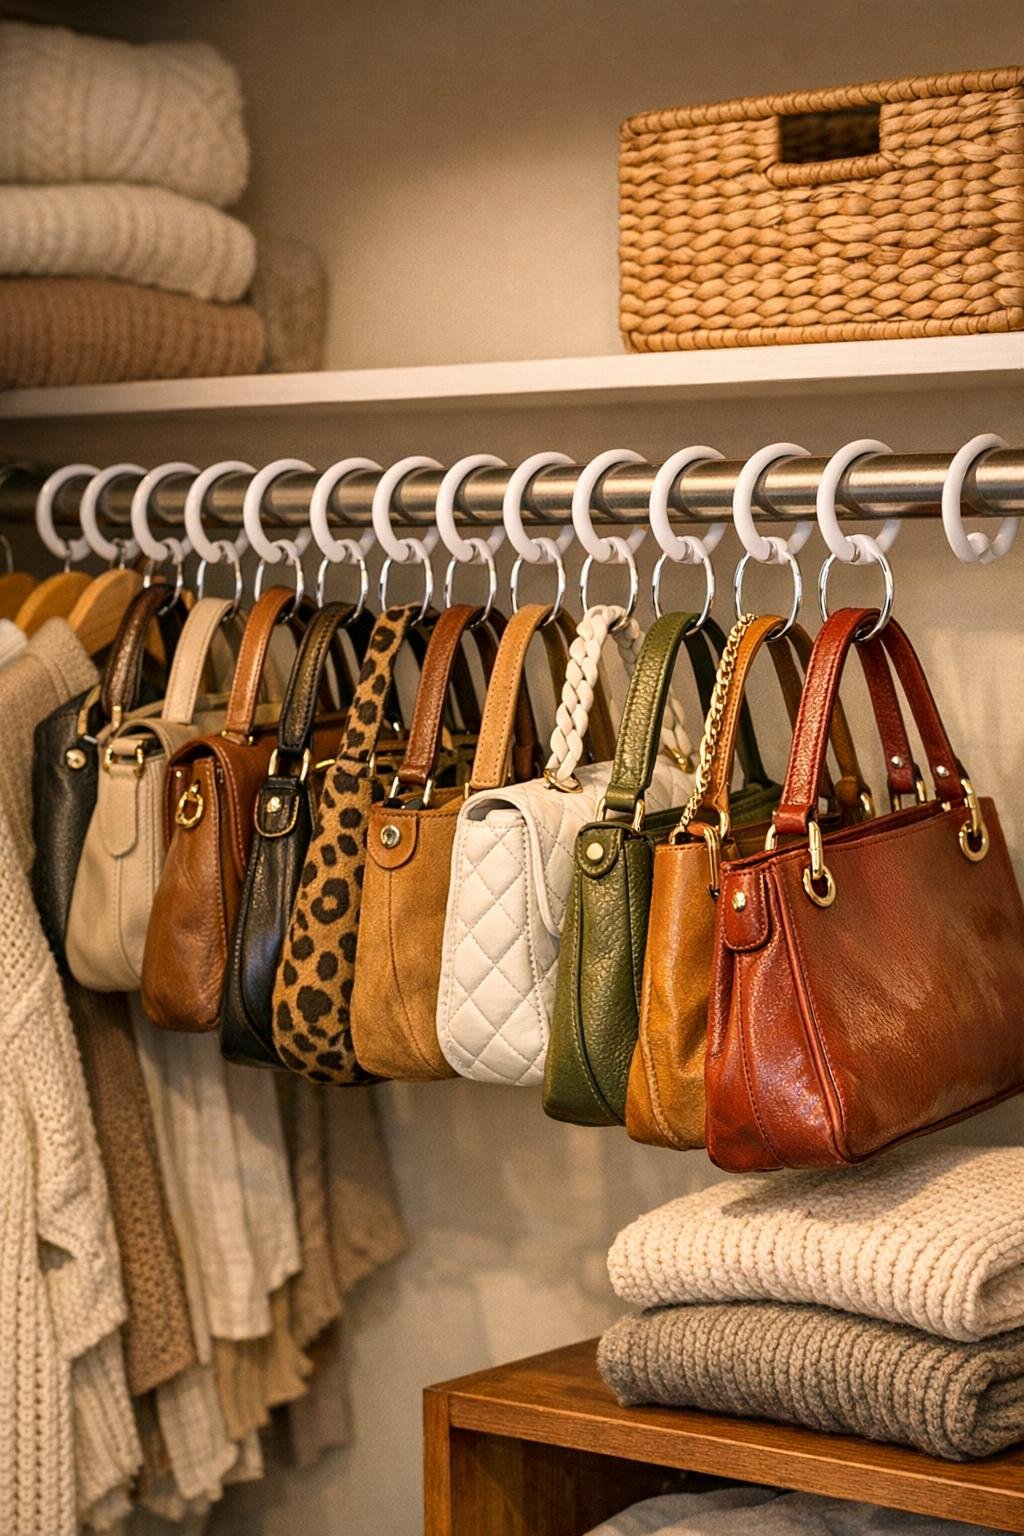
5. Open that same ring again just enough to slide it onto the bedroom closet rod, then let it hang freely so the handbag drops into place below the rod.
6. Repeat with the remaining handbags, using one ring per bag for lighter purses and two rings per bag spaced a few inches apart for wider or heavier bags that need extra support.
7. Arrange the bags by size, putting the largest totes toward the outside end of the rod section and the smaller bags together so everything hangs evenly and stays easy to see.
8. Slide each ring left or right until there is a little breathing room between bags, which helps protect the shape of the handbags and makes grabbing one much easier on busy mornings.
9. Turn the prettiest or most-used bags so they face forward, and tuck chain straps or loose handles neatly inside each bag to keep the row looking polished instead of tangled.
10. Add any remaining empty rings to the rod now for future bags, small crossbody purses, or even lightweight scarves, then give the whole section one final spacing check.
Variations & Tips
For heavier bags: Use two rings on one handbag handle set or one ring on each side of a wider strap to distribute the weight better and keep the bag hanging straight.
For small closets: Dedicate just one short section of rod to this organizer and hang only your most-used bags there, then rotate seasonal bags in and out as needed.
For picky organizers: I like arranging bags by color or by how often I use them, the same way I group lunchbox items in my kitchen—it makes getting out the door feel calmer and faster.
To protect delicate materials: If you have a handbag with a soft leather or fabric strap, check that the ring seam is smooth; if needed, wrap a tiny piece of clear tape over a rough edge before hanging it.
For extra bedroom storage: These rings can also hold lightweight belts, silky scarves, or small crossbody bags on the same rod so that one simple idea organizes several accessories at once.
Best finishing touch: Leave a little open space between each bag instead of packing them tightly together; that one small detail makes the whole closet look cleaner, more intentional, and much easier to use every day.