
I love projects that turn a castoff into something that looks far more expensive than it is, and this one absolutely delivers. If you have an old artificial Christmas tree with decent branches left on it, you can turn those tips into a dramatic porch accent that looks custom-made for your entryway instead of destined for the trash.
What I especially like here is that the structure is simple and forgiving. You are really just building upward around a sturdy center, then shaping as you go, much like cooking a good stock and adjusting it until everything feels balanced. If you’re comfortable using wire cutters and twisting floral wire, you can make this, and the result has enough scale and polish to stand out from the sidewalk.
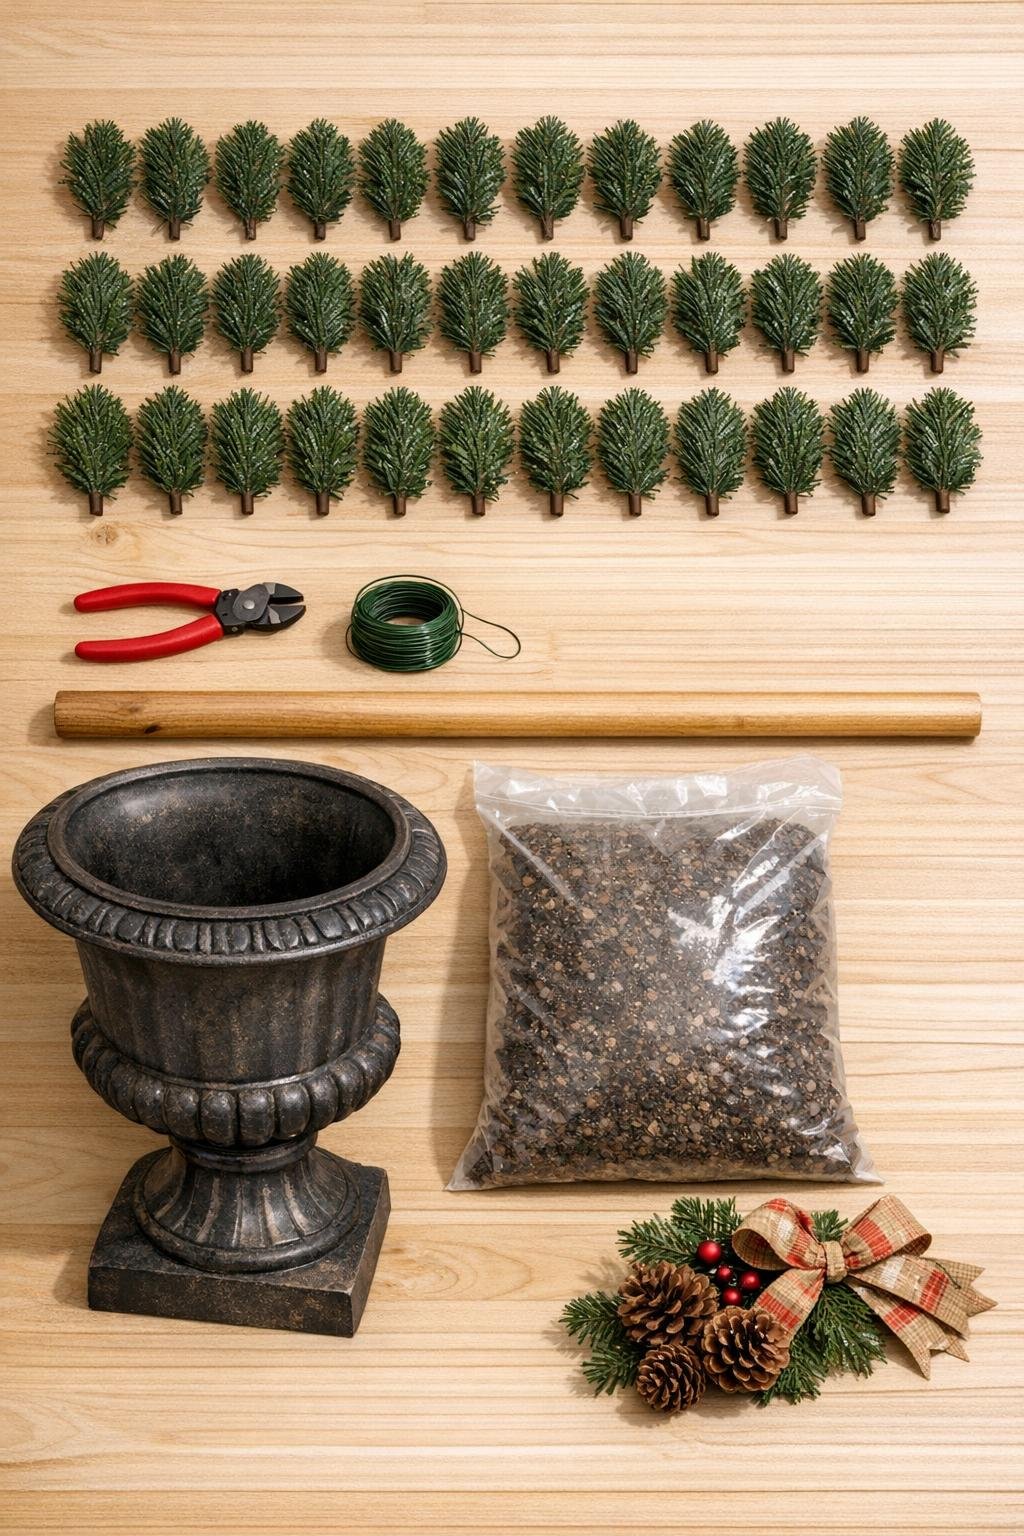
Materials
40 artificial evergreen tree tips, 10 to 18 inches long, removed from an old fake Christmas tree
Instructions
1. Remove 40 branch tips from the old fake Christmas tree and sort them by size, keeping the fullest and longest pieces for the bottom and middle sections.
2. Fill the porch urn with potting soil, sand, or pea gravel, then set the broomstick upright in the center and pack firmly until it stands straight on its own.
3. If needed, wedge a block of floral foam around the broomstick at the top of the filler to keep the pole centered and make the base easier to cover.
4. Starting 4 to 6 inches above the rim of the urn, hold one evergreen tip against the broomstick at a slight upward angle and wrap it tightly with floral wire 5 or 6 times.
5. Add 5 more tips around that same level to form a full ring, overlapping the stems slightly so there are no gaps when you look straight on.
6. Move up the broomstick 3 to 4 inches and wire on the next round of 5 or 6 tips, rotating each piece slightly so the foliage begins to climb in a gentle spiral rather than stacking in flat tiers.
7. Continue adding rounds all the way up the stick, using about 6 tips per section at the lower half, then 5, then 4 as you narrow toward the top for a tapered shape.
8. Step back after every 2 rounds and fluff the branches outward with your hands, filling thin spots by tucking in extra side sprigs from the removed tree tips.
9. As you reach the upper third, angle each new tip a little more upward and slightly around the pole so the whole form starts to read as one continuous twist.
10. Use the final 3 or 4 smallest tips at the top, wiring them tightly and bending their stems inward to create a clean pointed finish instead of a blunt top.
11. Wrap a fresh length of floral wire in a loose corkscrew from bottom to top, catching any stems that shift and reinforcing the spiral line without crushing the branches.
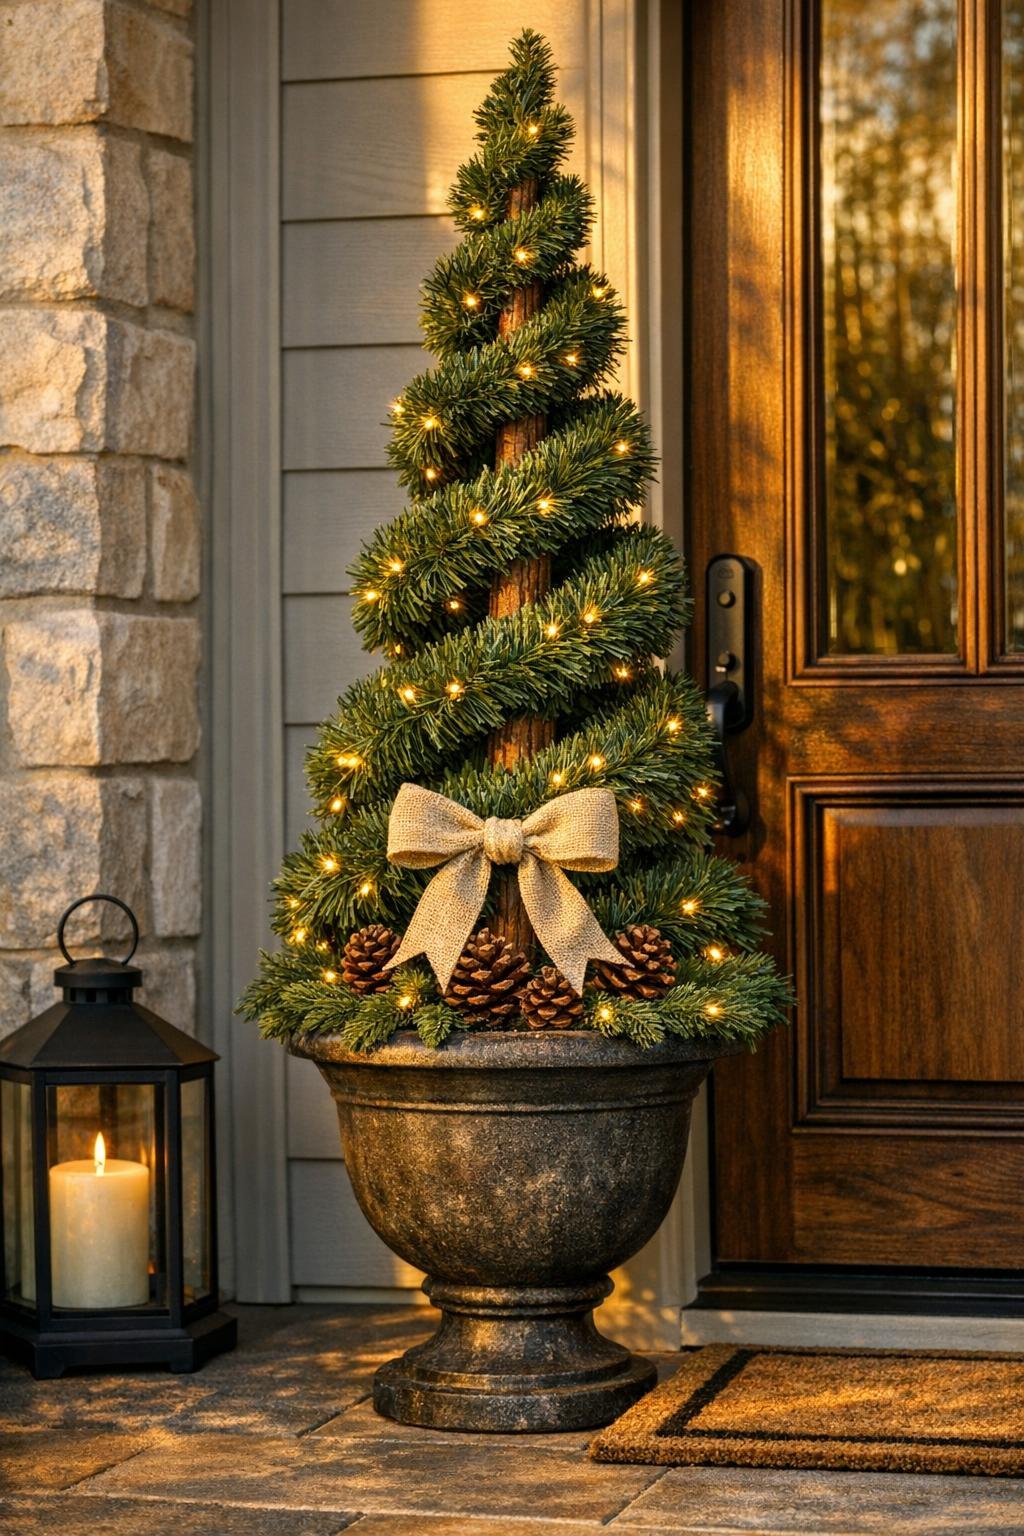
12. Fluff and shape the entire piece until it looks generous and even, with the widest greenery near the lower third and a smooth taper all the way to the top.
13. Cover the surface of the urn filler with extra clipped greenery so the base looks finished, then tuck in pinecones if you want a fuller, porch-ready look.
14. Add a wired ribbon bow near the urn rim or a few inches below the greenery if you like, and weave in fairy lights last so the wire disappears into the branches.
15. Set the finished piece by your front door and rotate it once more, adjusting any tips that flatten in transit so the spiral reads clearly from the street.
Variations & Tips
For a taller look: Use a 60-inch broomstick and increase to 50 to 55 tree tips so the topiary keeps a full lower section and does not look stretched.
For a more natural finish: Mix in a few real flexible cedar or pine clippings near the outside edges for softer texture, but keep the wired artificial structure underneath for durability.
If your old tree is sparse: Double up the thinnest tips in pairs before wiring them on; I do this often with bargain trees, and it makes a remarkable difference in coverage.
For winter porch use: Weight the urn heavily with gravel instead of only potting soil so the piece stays stable in wind, especially if your entry gets a cross-breeze.
To make a matching pair: Build both at the same time and divide your branch tips by length first, which helps the two spirals end up much closer in height and fullness.
To keep the spiral visible: Avoid overstuffing the outer edge with random branches at the end; fullness is important, but the clean twist is what gives this project its polished look.
For evening curb appeal: Choose warm white fairy lights and weave them in a loose upward path that follows the spiral line rather than wrapping them like a tight barber pole.
My best shaping tip: I always step back across the room or down the porch after fluffing. Up close, everything looks fine, but distance shows you exactly where the silhouette needs one more branch.