
Some of the cleverest holiday projects I’ve ever made started with the plainest little thing from the dollar store. This one has that same kind of magic to it: a simple white platter, a bit of yarn with a wintry sparkle, and just enough handwork to turn an everyday object into something folks will stop and stare at when they sit down at the table.
If you’re comfortable holding a crochet hook and making basic stitches, this is an easy, satisfying project with a big payoff. Even if you’re not much of a crocheter, the platter does half the work for you by giving the piece its shape, so you can create something that looks detailed and special without fussy construction. It reminds me of the old snowflake doilies my mother used to set out every December, only this version has a little more presence and a lot more shimmer.
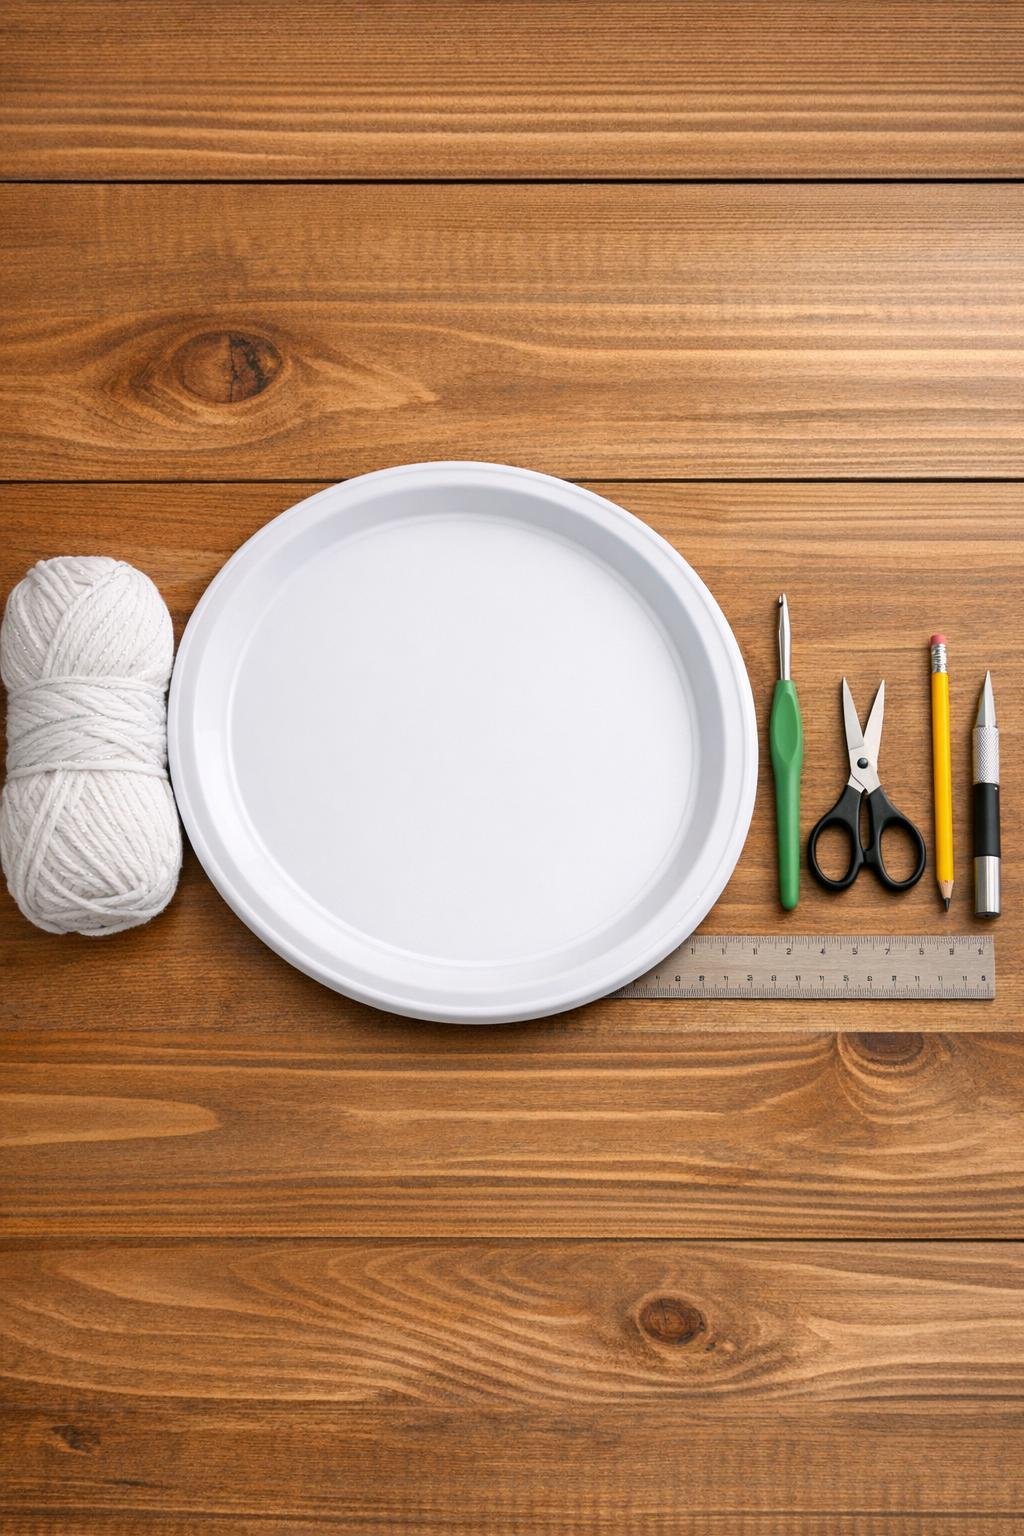
Materials
Instructions
1. Turn the platter upside down and mark 12 evenly spaced points around the flat inner rim, like the numbers on a clock. Keep the marks about 1 inch in from the outer edge so the platter stays sturdy.
2. Set the platter on a cutting mat and cut a slot at each mark, making each slot about 1/2 inch long and just wide enough for the crochet hook and yarn to pass through easily. Smooth any rough edges with sandpaper or an emery board so the yarn won’t snag.
3. Make a slip knot and pull the yarn through one slot from back to front, leaving a 4-inch tail on the underside. Chain 3, then work 2 double crochets through that same slot to begin the first anchor point.
4. Chain 5, skip to the next slot, and work 3 double crochets through that slot. Repeat all the way around so every slot holds a 3-double-crochet cluster connected by chain-5 spaces, then join to the top of the starting chain.
5. Slip stitch into the first chain space, then work 1 single crochet, 1 half double crochet, 3 double crochets, 1 half double crochet, and 1 single crochet into that space. Repeat that shell in every chain space around the platter to create 12 soft points.
6. In the top of the first shell, slip stitch to center yourself, then chain 7 and single crochet into the top of the next shell. Continue around to make tall arches that start giving the piece a crisp snowflake shape.
7. Into each chain-7 arch, work 1 single crochet, 1 half double crochet, 3 double crochets, chain 3, 3 double crochets, 1 half double crochet, and 1 single crochet. This builds the larger lacy points and gives the platter a full, snowy look instead of a skimpy one.
8. Slip stitch into the first large point, then work 1 single crochet, chain 5, and single crochet into the chain-3 tip space of that same point. Repeat in every point to add a delicate picot-like loop right at each tip.
9. For extra fullness, work a final round of slip stitches and chain-3 loops between the outer points, placing one small loop in each side gap so the design looks layered and finished. Fasten off, cut the yarn, and weave the tail securely around the stitches near the slot on the underside.
10. Gently tug each point into shape with your fingers and flatten the platter on the table so the snowflake sits evenly. If you’d like a crisper finish, lightly steam the crocheted sections from above without touching the plastic platter with the iron.
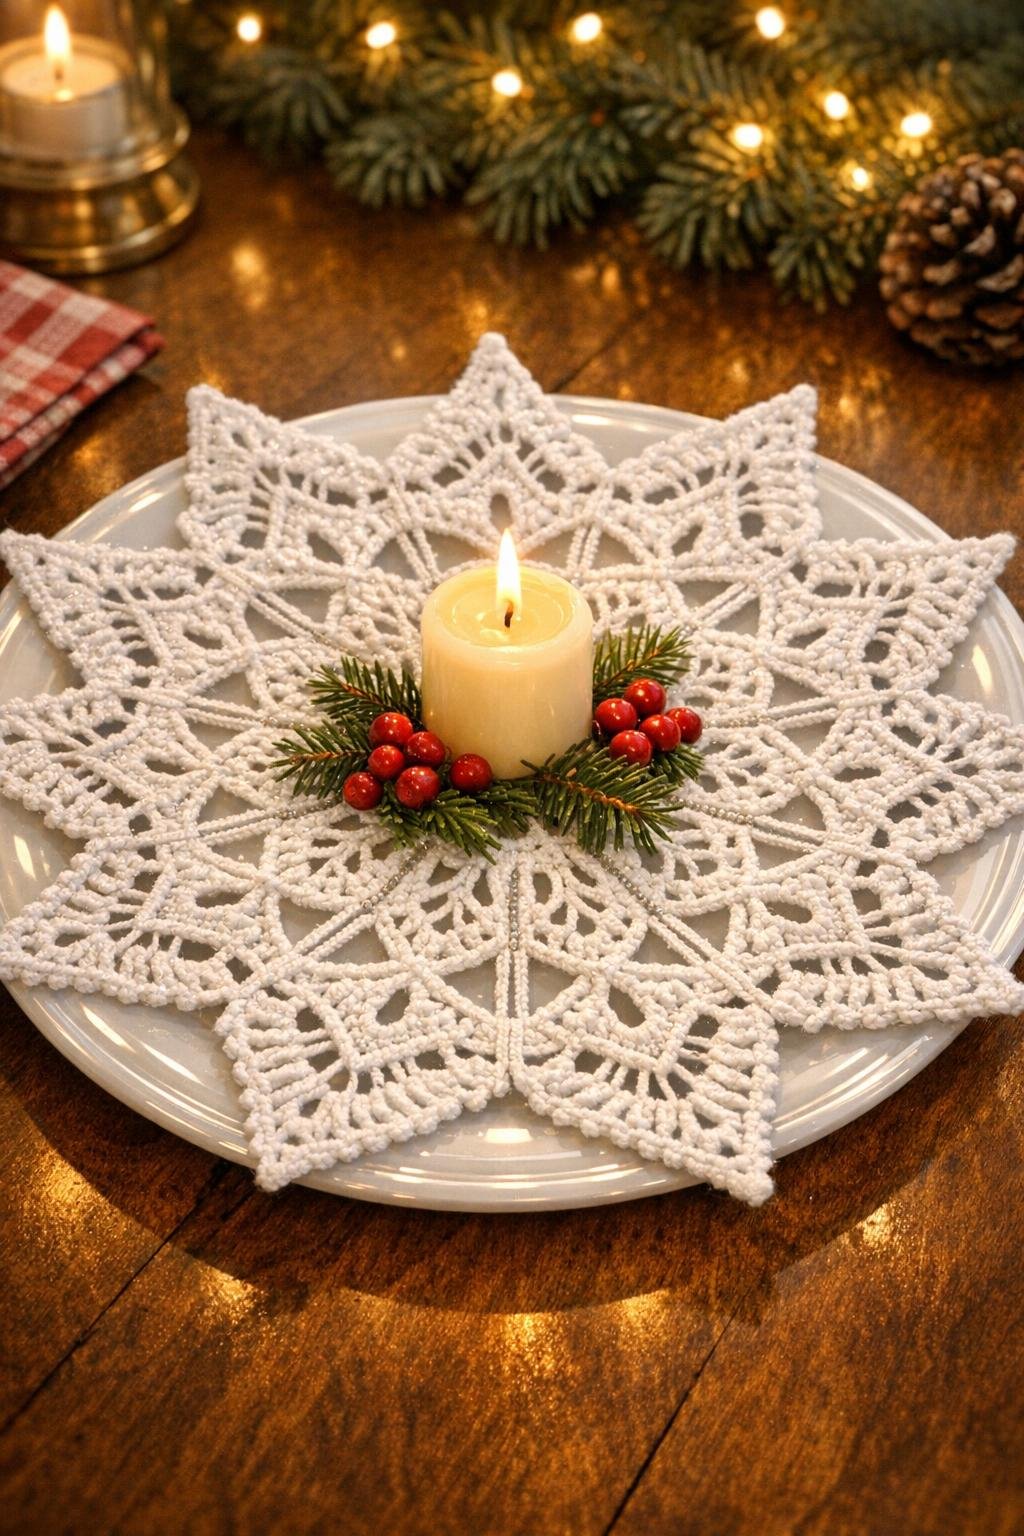
11. Set the finished piece in the center of your table and place a battery tea light or small pillar candle in the middle depression of the platter. Tuck a few evergreen sprigs, berries, or mini pinecones around it if you want a fuller holiday display, keeping the snowflake stitches visible.
Variations & Tips
Make it fuller: If you want an even grander look, add one more round of chain loops between the large points and edge them with single crochet. That little bit of extra layering makes the snowflake read beautifully from across the room.
Use what you have: A silver-white yarn is lovely for Christmas, but plain white cotton works too. If your yarn has no sparkle, a narrow silver ribbon woven through the outer stitches can give you the same icy finish.
Keep the platter visible: Don’t crochet so tightly that the white plastic disappears completely. Part of the charm is seeing that humble platter still peeking through, transformed but recognizable.
Slot-cutting tip: I like to cut all 12 slots first, then test one with the hook before I go any farther. It’s much easier to widen a slot by a hair at the start than to fight it with every stitch.
Table-safe display: If you use a real candle, make sure the flame sits well above the crochet and never touches the yarn. In my own house, I usually reach for a battery tea light because it gives that same cozy glow with none of the worry.
Turn it into wall decor: This same project can be hung in a window or on a wall with a clear loop of fishing line through one slot on the back. It catches winter light in such a pretty way, especially if that silver strand glints a little.