
I have a soft spot for those inexpensive winter sleds that start showing up at the dollar store every year. Around here, anything sturdy, cheerful, and made of plastic gets a second look from me, because I was raised by women who could turn the simplest thing into something worth setting out on the porch. This project takes that humble snow sled and, with a few neat cuts and a whole lot of cozy yarn, turns it into a piece of Christmas decorating that feels big, warm, and unexpected.
If you crochet even a little, this is a satisfying afternoon project, and if you’re newer to it, don’t worry—this is more about working in bold rows than fussy stitch counting. The beauty is in the contrast between the slick sled and the chunky yarn, and the end result has that old-fashioned, bundled-up holiday charm I always love when the weather turns cold.
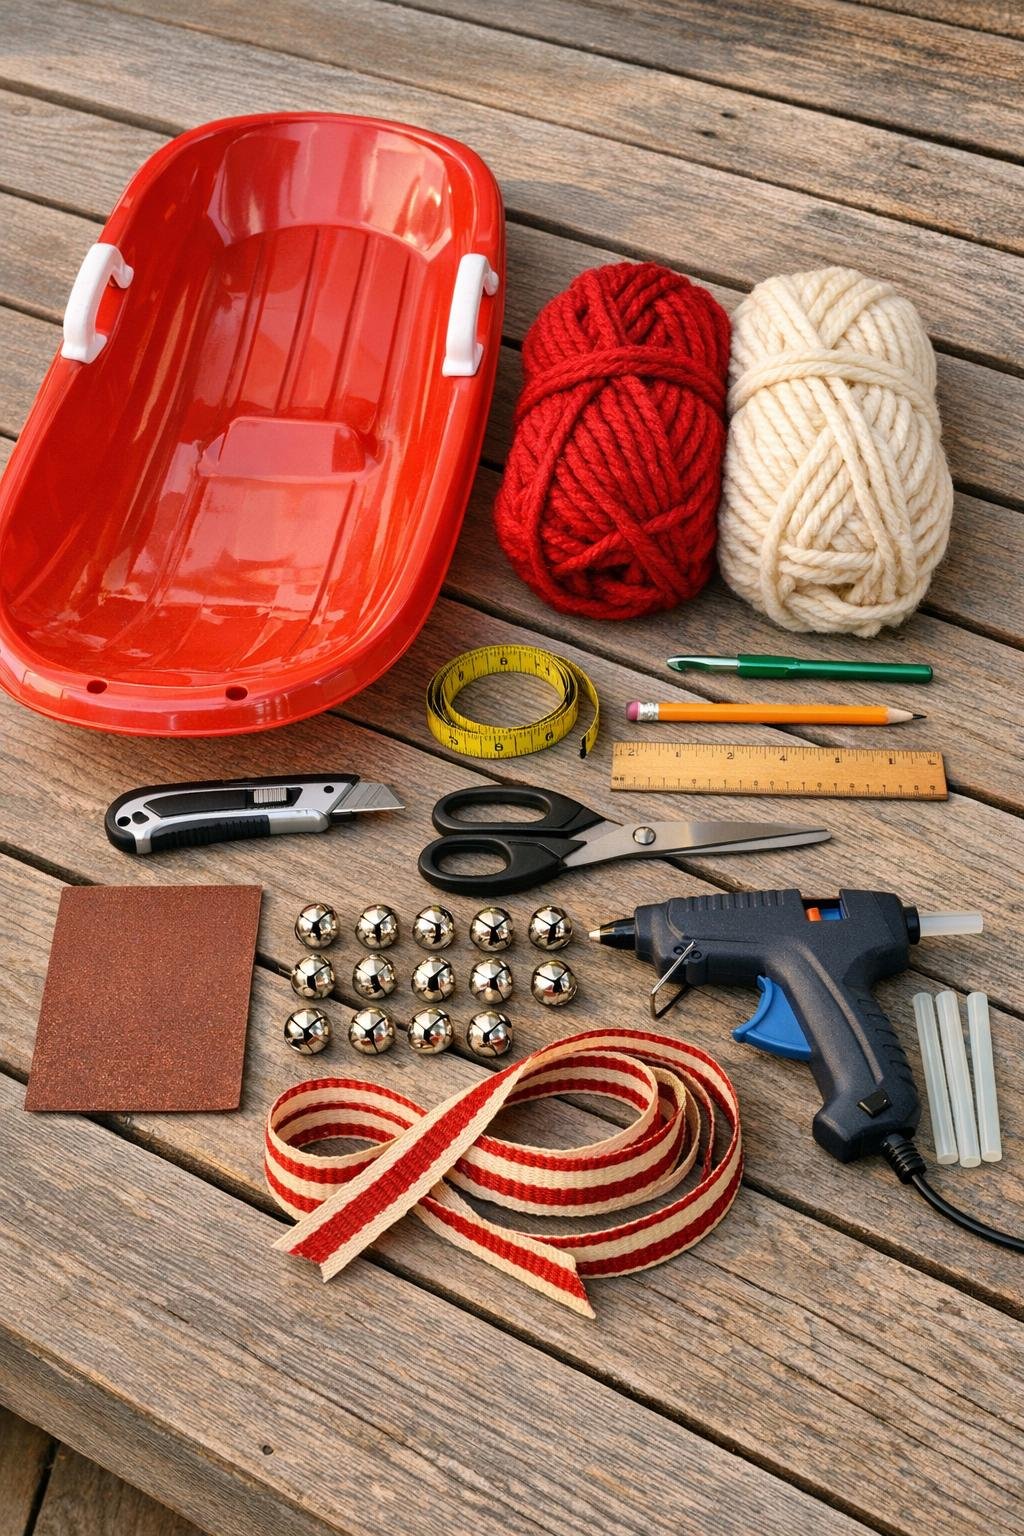
Materials
Instructions
1. Wipe the sled clean and dry, then lay it flat with the front curve at the top. Measure a centered working area down the middle and mark 12 evenly spaced vertical slots, each about 3/4 inch long and 1 inch apart.
2. Cut the 12 slots carefully with a utility knife, keeping them in two straight columns of 6 so the crochet rows will span neatly across the sled. Lightly sand each cut edge so the yarn won’t snag.
3. Tie the red yarn through the bottom left slot from back to front, leaving a 4-inch tail at the back. Pull up a starting loop and work a row of single crochet stitches across the first pair of slots, anchoring the yarn through the openings as you go.
4. Continue crocheting back and forth through the slots, building thick horizontal rows that stretch from one side of the slot column to the other. Keep the stitches snug but not tight, and push each row upward with your fingers so the coverage stays full and cushioned.
5. When you have worked about 4 inches of red, switch to cream yarn and crochet 2 to 3 inches for a broad contrasting stripe. Change back to red and continue until the slotted area is fully filled with dense, even crochet.
6. Fasten off on the back of the sled and weave or knot the yarn tails securely so nothing slips loose outdoors. Trim any fuzzy bits from the back and check the front for gaps, adding a few extra stitches where needed.
7. Thread the twine or cord through the sled’s top handle opening and knot it into a hanging loop. Make sure the loop is short enough that the sled will sit high and upright against a wall or door area.
8. Tie a full bow with the wired ribbon at the top handle, making generous loops and two tails about 10 inches long. Fluff the bow so it softens the hard plastic and gives the project a dressed-up holiday finish.
9. Hot glue the 12 small jingle bells in a cluster around the bow and upper handle area, spacing them so they look balanced and intentional. Let the glue cool completely before moving the sled.
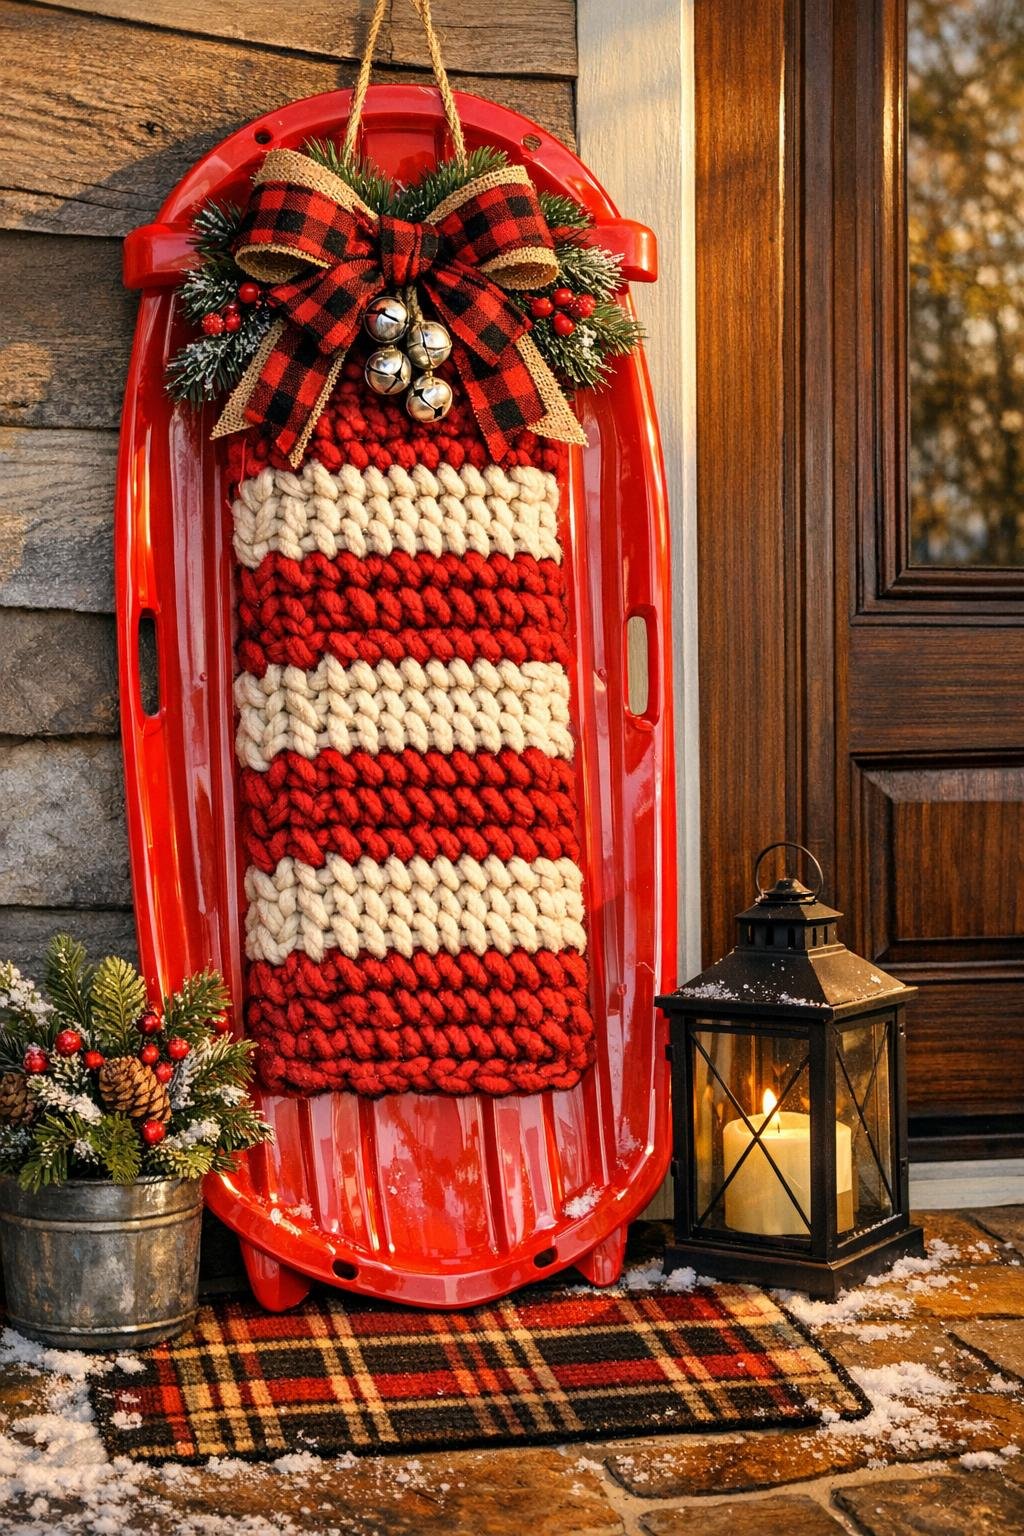
10. Hang the finished piece on your porch and straighten the crochet panel so the stripes sit level. If you like, tuck the ribbon tails behind the sides just a bit so the textured center remains the star.
Variations & Tips
Color swap: If red and cream isn’t your style, try forest green and ivory or bright red and snowy white. I still recommend keeping the colors bold and high-contrast so the crochet shows up clearly from the road.
Slot spacing tip: Even spacing matters more than perfect stitch count here. I like to mark all 12 slots first, step back, and make sure the layout looks centered before I cut a thing.
Weather note: This holds up best on a covered porch where the yarn won’t stay wet. In my part of the Midwest, anything under shelter lasts so much longer through December wind and damp cold.
Beginner crochet help: Single crochet is the easiest stitch for this project because it makes a dense, tidy fabric. If your edges start to pull inward, loosen your tension a touch and let the slots do the anchoring work.
Extra fullness: For a richer look, add a second cream stripe or make the center section slightly puffed by working your stitches a little taller and packing the rows close together. That generous texture is what makes this feel special instead of skimpy.
Finishing touch: A little bell cluster at the top gives it that old-time Christmas spirit. My mother always said holiday decorating should catch both the eye and the ear, and I think she was right.