
There are a few little projects I come back to every winter when I want something inexpensive, pretty, and just a bit surprising. This is one of those crafts that looks almost too simple at the start, but once everything dries and comes together, it has that old-fashioned holiday magic I remember from church bazaars, school craft tables, and the kind of snowy-window decorating we did on dark December afternoons.
If you like easy dollar-store crafts that still feel special, this one is for you. It uses humble paper supplies and a basic glue mixture, but with a little patience and a good drying spot, you end up with a whole batch of delicate decorations that look far fancier than they cost.
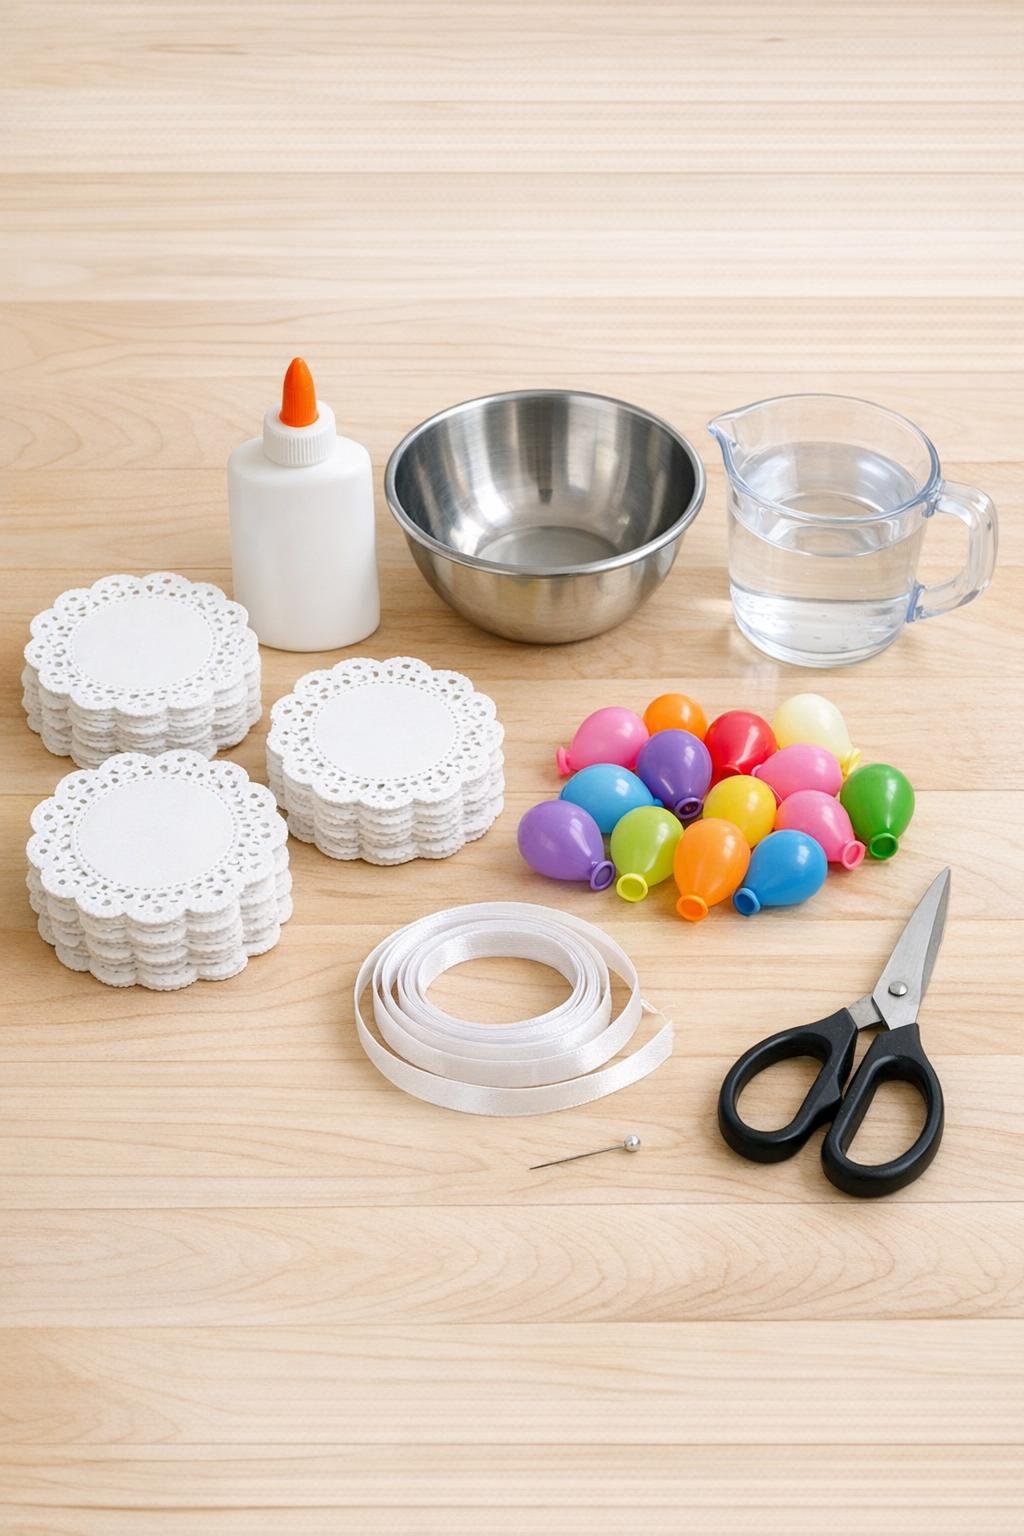
Materials
Instructions
1. Cover your work surface with wax paper and set up a drying spot where the balloons can hang undisturbed overnight. I like to do this near the kitchen table where I can keep an eye on things without anybody bumping them.
2. Pour the glue and water into the bowl and stir until the mixture is smooth and milky with no lumps. It should feel slippery and thin enough to soak into the paper easily.
3. Blow up 12 small water balloons to about 2 1/2 to 3 inches across, keeping them all close to the same size, and tie them off. A round, orange-sized balloon gives these the nicest full shape.
4. Dip 1 doily into the glue water, let it soak for a few seconds, then lift it out and gently drag the edge against the bowl to remove the excess. The doily should be fully wet but not dripping heavily.
5. Lay the first soaked doily over the top of a balloon and smooth it down with your fingers. Add a second and third doily, overlapping the edges so they begin forming a strong lace shell around the balloon.
6. Continue adding 3 doilies per balloon, spacing the patterned openings so the whole surface looks balanced and leaving only a tiny opening near the tied end. Press each doily lightly so the layers stick to one another wherever they overlap.
7. Repeat with the remaining balloons until you have 12 covered forms. If any edges lift, brush or dab on a little extra glue water with your fingers and press them back into place.
8. Tie one ribbon length around the knot of each balloon so you can hang it to dry. Make sure the ribbon is snug but not tight enough to dent the round shape.
9. Hang all 12 covered balloons from your drying rack or rod, leaving space between them for air to circulate. Let them dry at least 12 hours, or until the doilies feel crisp and completely firm.
10. Check that each one is fully dry, then use the straight pin to pop the balloon through the small opening. Let the balloon shrink away from the paper before gently pulling it out.
11. Trim away any ragged paper bits around the opening with scissors, keeping the round shape neat. If you want a slightly stronger ornament, dab a touch of glue water over any loose seams and let it dry again.
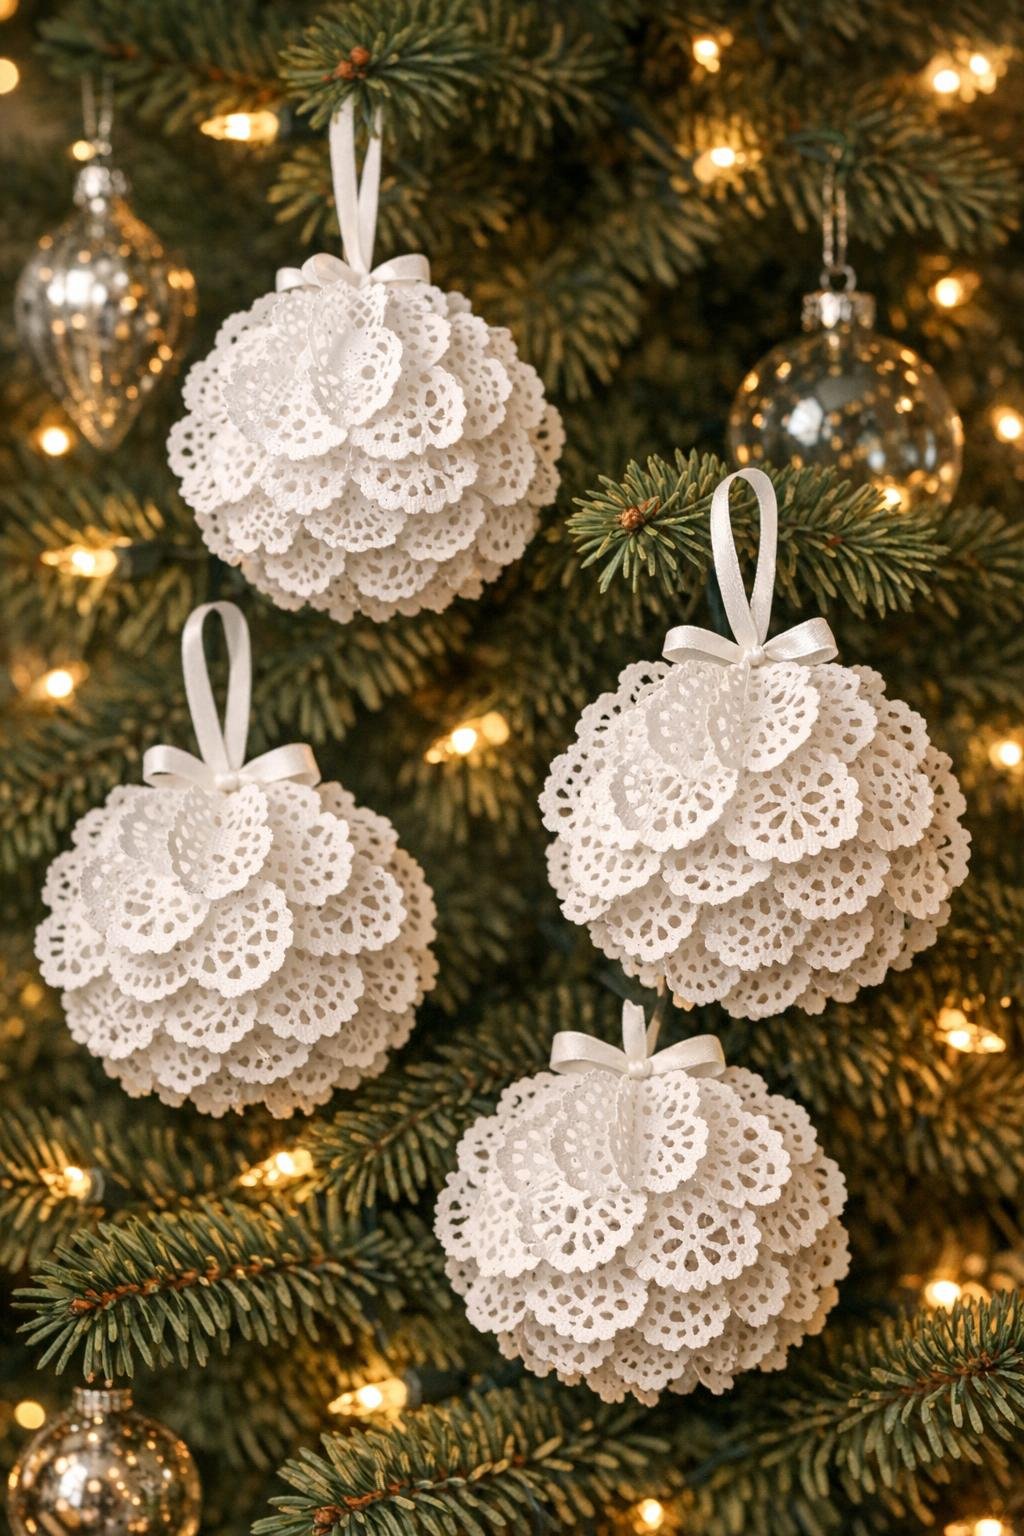
12. Retie or replace the ribbon at the top to create a clean hanging loop, then fluff the shape gently with your fingers if needed. Once they are all finished, they are ready to hang where the light can shine through that lovely lace pattern.
Variations & Tips
Add a soft shimmer: Once the ornaments are fully dry, brush them lightly with clear-drying craft glue and sprinkle on fine iridescent glitter. I use a very light hand so they still look delicate instead of frosted solid.
Use pearl or silver ribbon: White ribbon keeps everything snowy and classic, but pale silver or soft pearl ribbon gives them a lovely dressed-up finish for a more formal tree.
Make them look fuller: If your mini doilies are on the smaller side, use 4 doilies per balloon instead of 3. That extra overlap makes a sturdier ornament and gives the lacework a richer look.
Drying matters: If the paper still feels cool or flexible, it is not ready yet. In my old farmhouse kitchen, winter air can be a little damp, so I often leave them hanging a full day to be safe.
Keep the opening tidy: Try to leave the smallest opening possible near the balloon knot when layering the doilies. A neat opening makes the finished ornament look polished and keeps the round shape nice and full.
Display beyond the tree: These also look beautiful strung across a mantel garland, tucked into a bowl with pinecones, or hung in a window where daylight can filter through the lace.